In most bathrooms, a wall-hung basin is a practical option, but the installation needs to be planned around the wall construction, basin dimensions and the position of the existing bathroom fittings. Unlike a pedestal basin, its weight and everyday use are transferred through the mounting system into the wall, so the fixing method must suit the structure behind the finished surface.
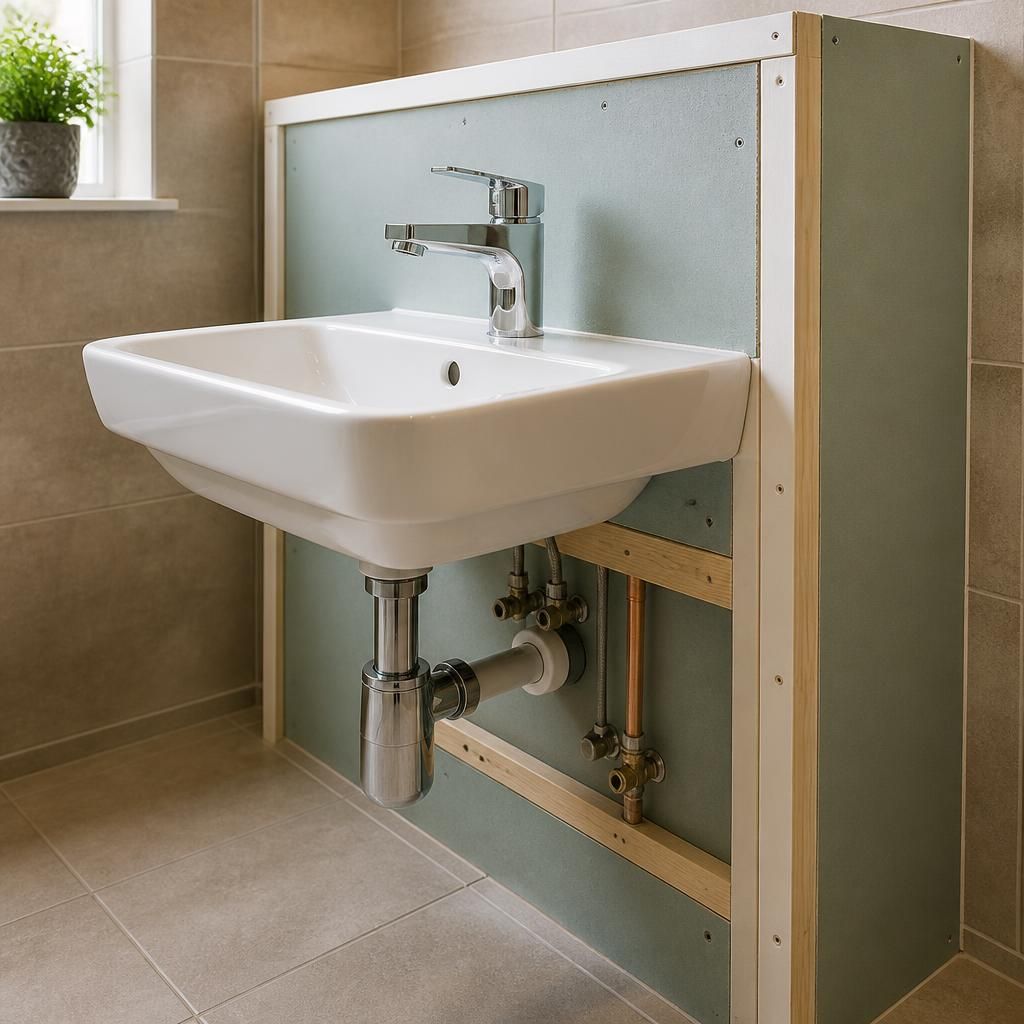
The wall construction is a key consideration. Solid masonry can usually accommodate appropriate basin brackets or a suitable mounting frame. A stud or plasterboard wall may need timber noggins, a reinforced section or a purpose-made support frame installed between the studs. Fixing only into plasterboard is unlikely to provide a dependable result, particularly where the basin may be leaned on. The wall should also be checked for hidden pipes and cables before any drilling or alterations take place.
The basin and tap must work together. The installer will consider the basin’s width, depth, fixing points and tap arrangement. Some basins are designed for a deck-mounted tap, while others require a wall-mounted tap or a tap hole in a particular position. The chosen arrangement affects the pipework route, splash control and the usable space around the basin. A projection that is too large for the room can restrict access, interfere with a door or reduce clearance beside a toilet or shower.
Finished height and access also matter. The basin is normally positioned so that it is comfortable to use while leaving enough room beneath it for feet and cleaning. The height may need to be adjusted for children, accessibility requirements or the users of the property. A level installation is especially important because even a small misalignment can be noticeable along the basin rim and may affect how water drains from the bowl.
Installation may involve lifting or removing tiles, opening a section of wall and making good the surface afterwards. This is more likely where the existing pipework does not align with the basin or where the wall requires internal reinforcement. The condition of the wall finish should be considered before work begins, as replacing a basin can expose areas that were previously concealed by a pedestal, cabinet or splashback.
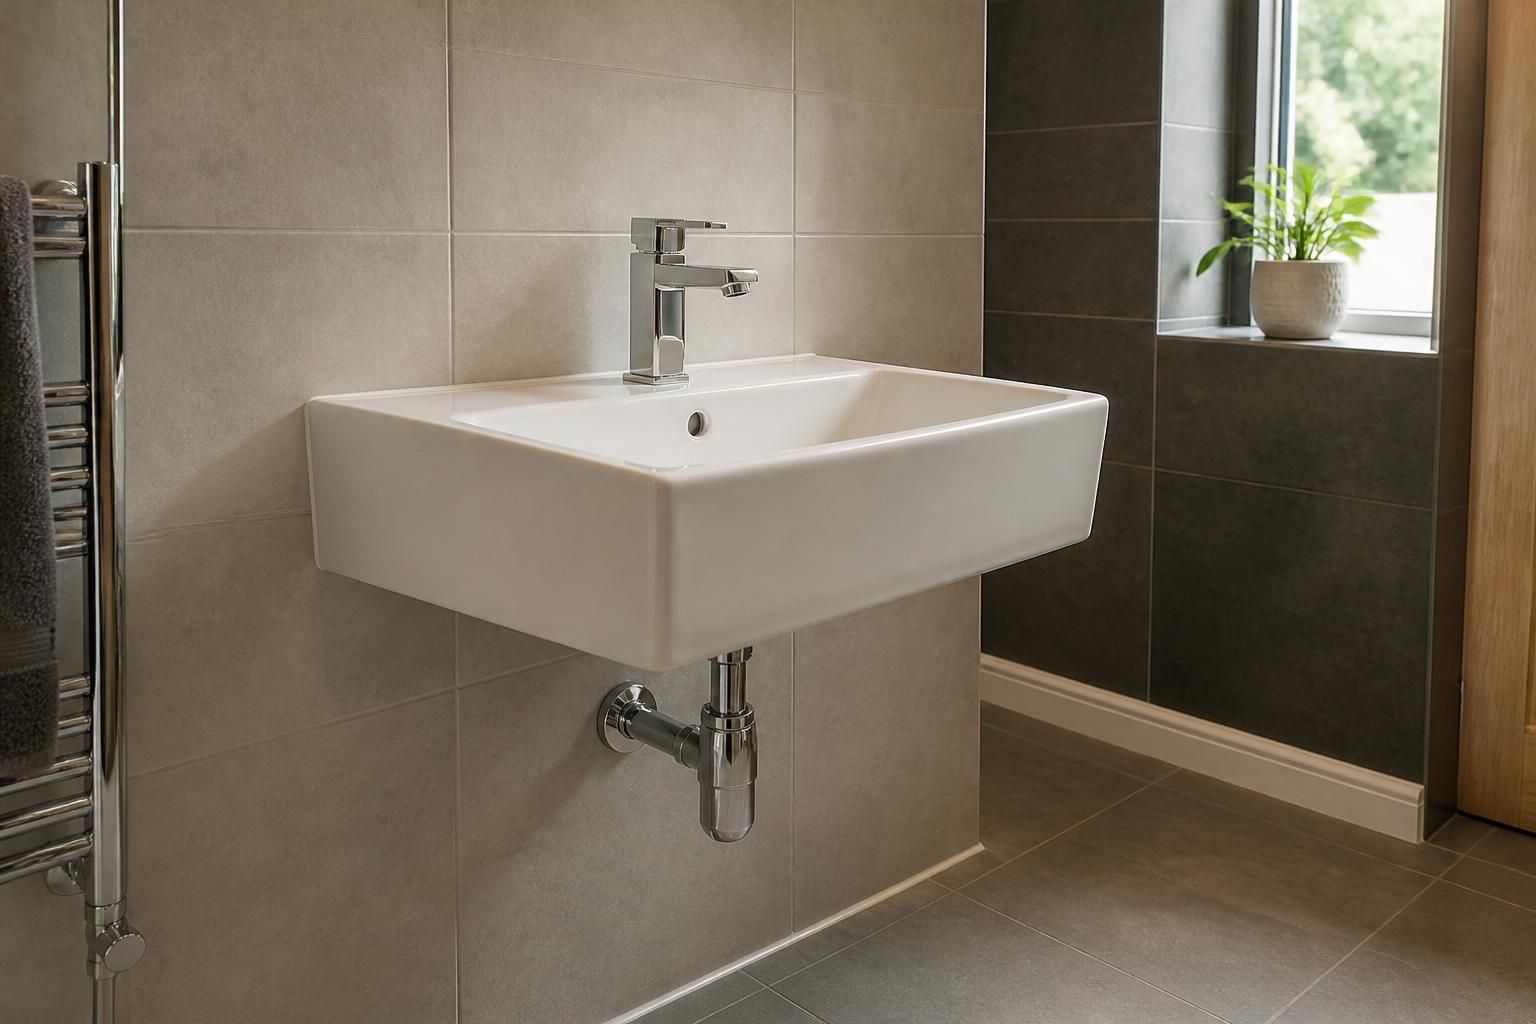
The waste arrangement should be selected to suit the appearance and access requirements of the bathroom. An exposed bottle trap can be a deliberate design feature, while concealed pipework gives a cleaner finish but requires suitable provision inside the wall or a serviceable access panel. Isolation valves should remain reachable, and joints should be checked for leaks after the basin has been connected.
A professional installation typically includes:
- checking the wall structure and identifying concealed services;
- confirming the basin, tap and waste components are compatible;
- marking the fixing positions and finished height accurately;
- installing the appropriate support system and connecting the plumbing;
- sealing junctions where necessary to help protect the wall from moisture; and
- testing the tap, waste and connections before the work is completed.
For a rented property, the landlord or managing agent may need to approve alterations before the wall is opened or the bathroom layout is changed. Ideal Plumbing Services can assess the proposed position and explain whether the installation is straightforward or likely to require additional preparation, helping homeowners, landlords and tenants make an informed decision before work starts.