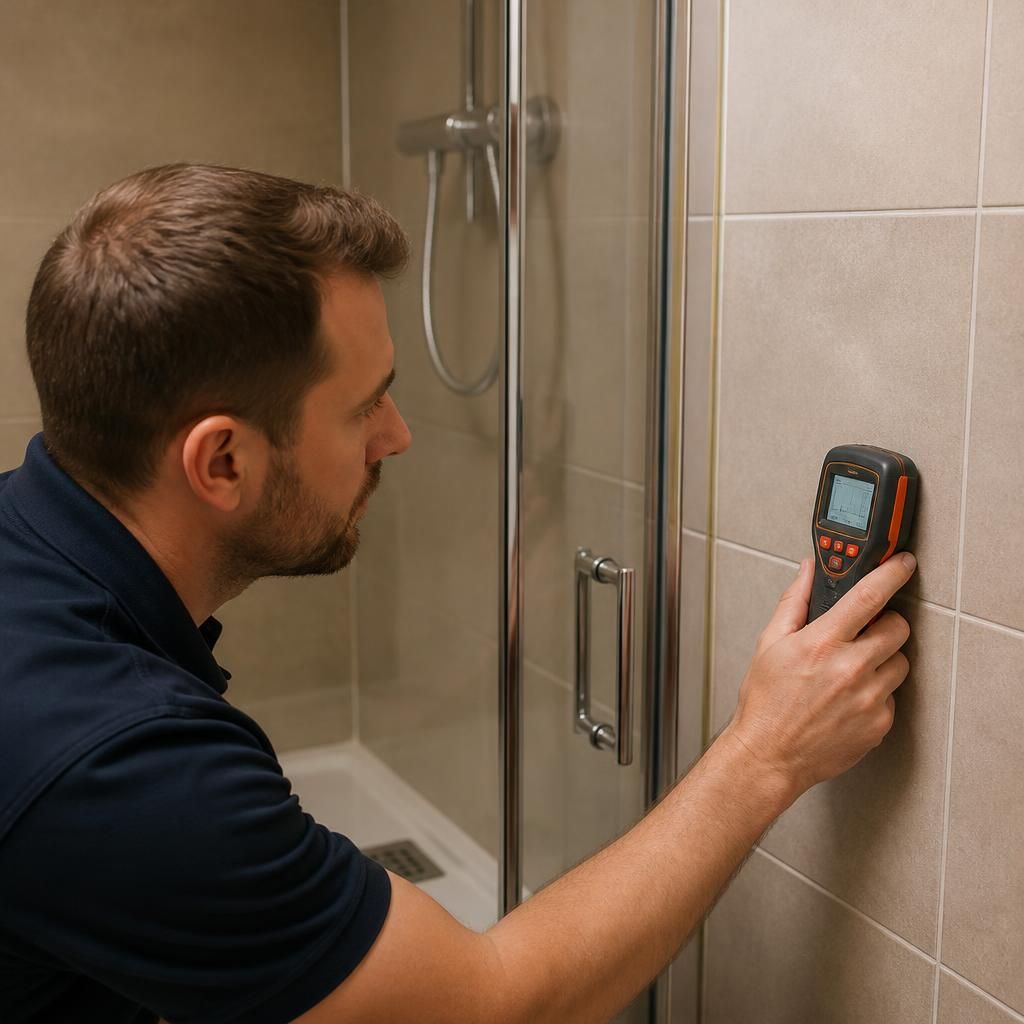
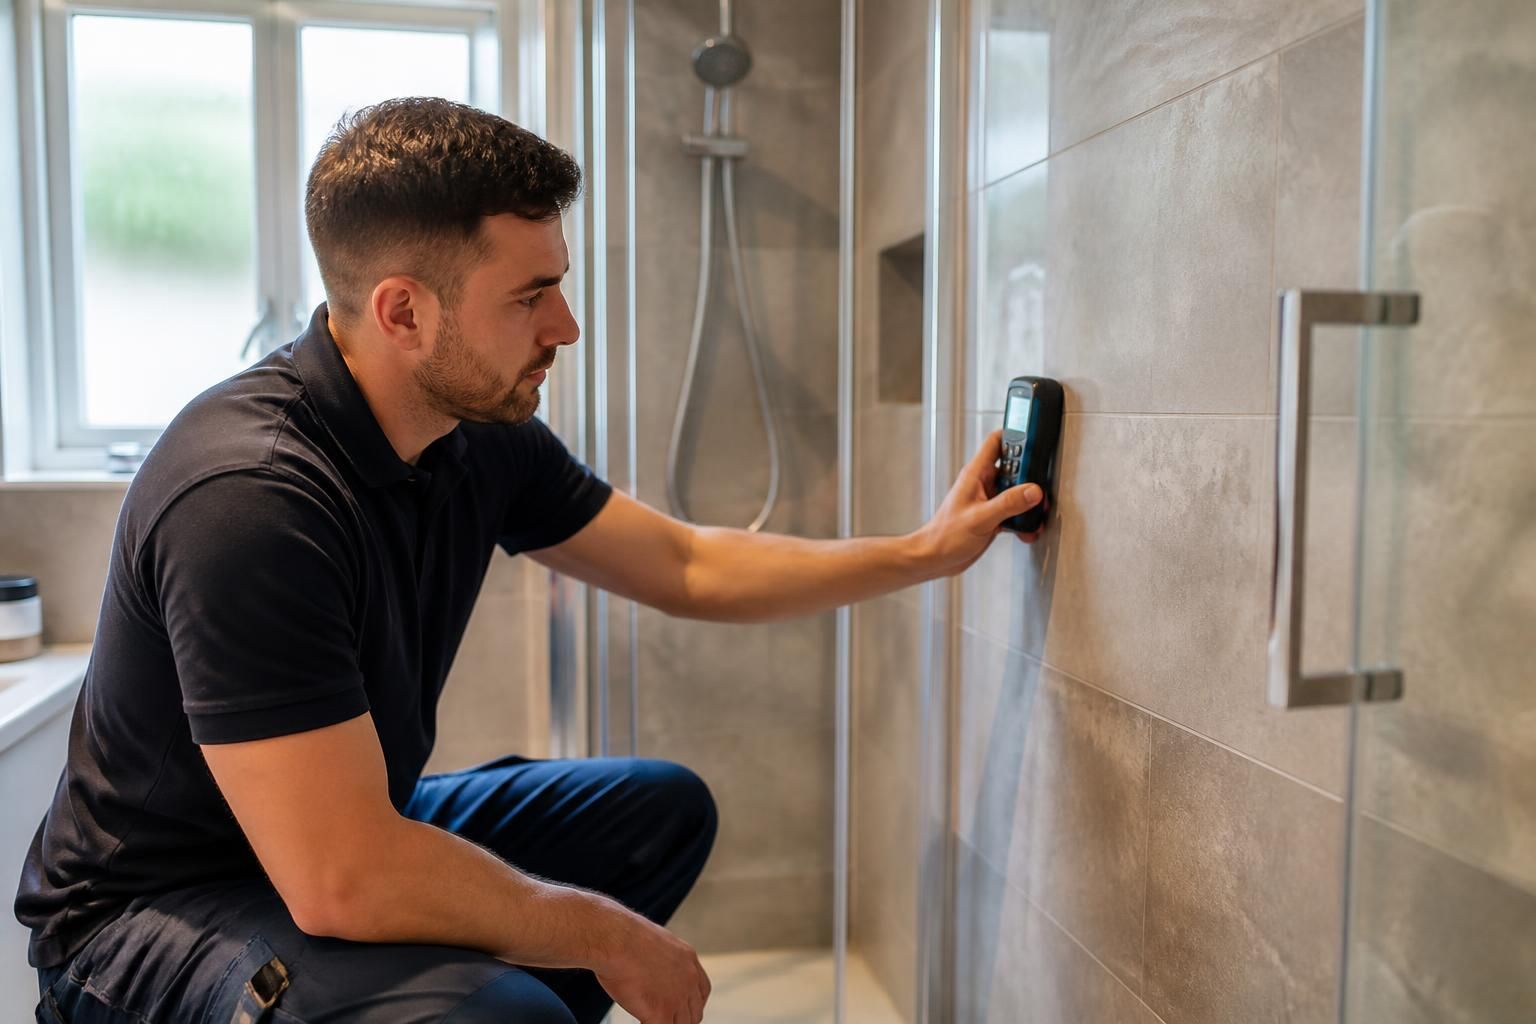
Professional shower leak detection is normally a low-impact process. The equipment used to trace a leak is designed to identify the source before unnecessary parts of the bathroom are opened or removed. Any risk of damage usually relates to gaining access to a concealed pipe or repairing existing damage, rather than to the detection checks themselves.
A plumber will usually begin by examining the shower tray or bath, waste, screen, sealant, grout, visible pipework and nearby surfaces. Moisture readings can help show whether water has travelled behind tiles, beneath flooring or into an adjoining wall. Pressure testing, acoustic equipment, thermal imaging or a controlled water test may then be considered, depending on the plumbing arrangement and the symptoms.
These checks do not normally require drilling or removing tiles. They can help distinguish between several possible causes, including:
- failed silicone around a tray, bath, screen or fitting;
- cracked grout or damaged tile joints;
- a leaking waste connection or trap;
- a concealed supply pipe leak;
- water escaping because the tray, bath or screen is moving; and
- moisture entering the wall or floor because the waterproofing has failed.
Limited access may sometimes be necessary. If the leak is inside a wall, beneath a tray or around concealed pipework, inspection may require the removal of an access panel, a small section of boxing-in, a floorboard or selected tile. A careful approach aims to use the least disruptive access point and avoid opening a larger area than the repair requires. The proposed access should be explained before work starts, including what may need to be removed and whether matching replacement materials are available.
Tiles, grout and sealant can be disturbed when access is unavoidable. Removing a tile without cracking it is not always possible, particularly where it is firmly bonded or the surrounding waterproofing has deteriorated. Replacing sealant or grout may therefore be part of putting the area back into a watertight condition. If a tile, panel or section of flooring must be removed, ask whether the existing material can be reused or whether a replacement will be needed.
The greater concern is often the damage caused by leaving a shower leak unresolved. Persistent moisture can affect plasterboard, timber, flooring, insulation, ceilings below and electrical components located near the affected area. A surface that appears only slightly damp may conceal a wider problem, so a moisture reading and an inspection of adjacent areas can be useful before cosmetic repairs are completed.
To reduce disruption while the source is being checked:
- stop using the shower until the cause has been assessed if water is escaping into the wall, floor or ceiling below;
- remove toiletries, mats and loose items from the affected area;
- avoid applying fresh silicone over an active leak, as this can hide the source and make later access more difficult; and
- tell the plumber about any recent tiling, fitting replacement or previous repair, as these details can affect where water is likely to travel.
Detection and repair are separate stages. Finding the leak should identify where access is needed, but the final repair may also involve drying, replacing damaged sealant, renewing a connection, repairing pipework or reinstating a waterproof barrier. If the leak has reached another room, the affected surfaces may need time to dry before decorating or replacing flooring.
Before work begins, clarify whether the inspection is non-invasive, what access could be required if the source is concealed, and how removed tiles, panels or sealant will be dealt with. This gives you a clearer idea of the likely disruption and helps prevent avoidable damage during the investigation.