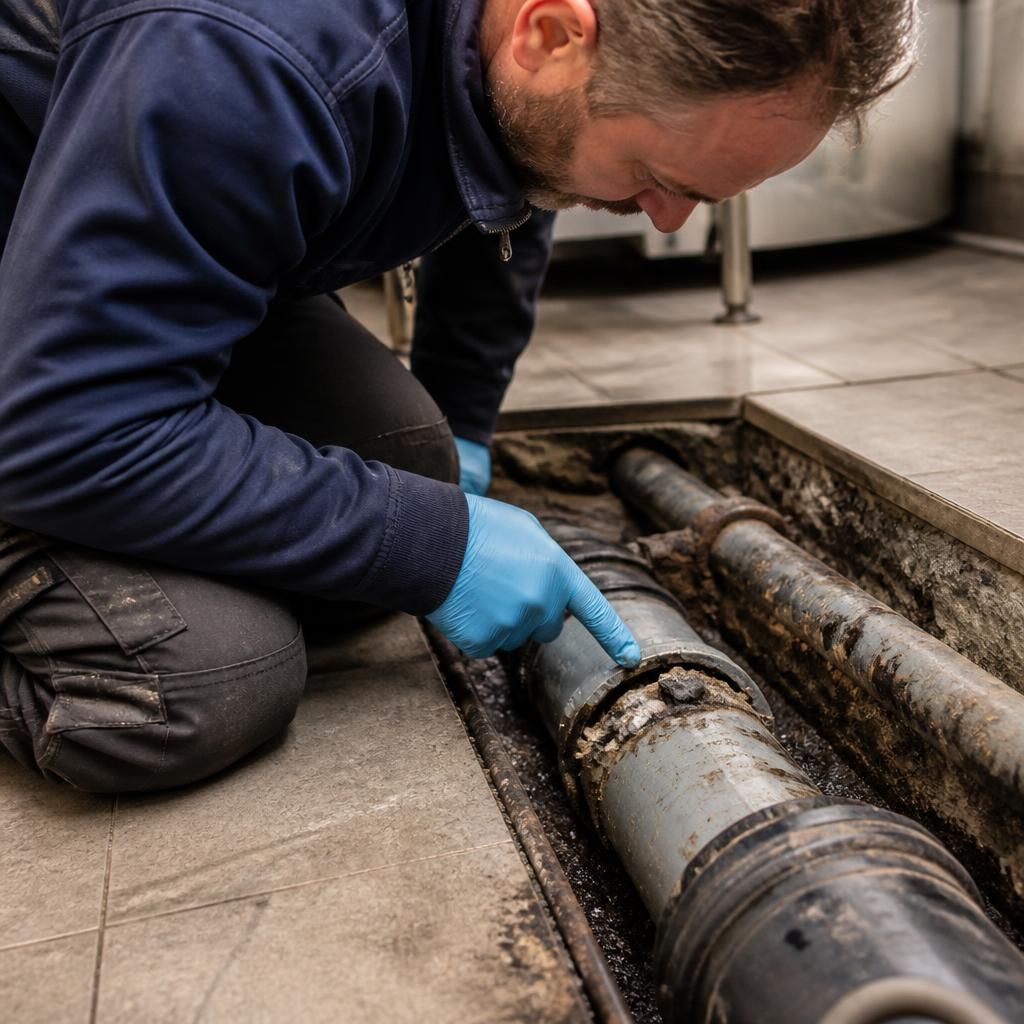
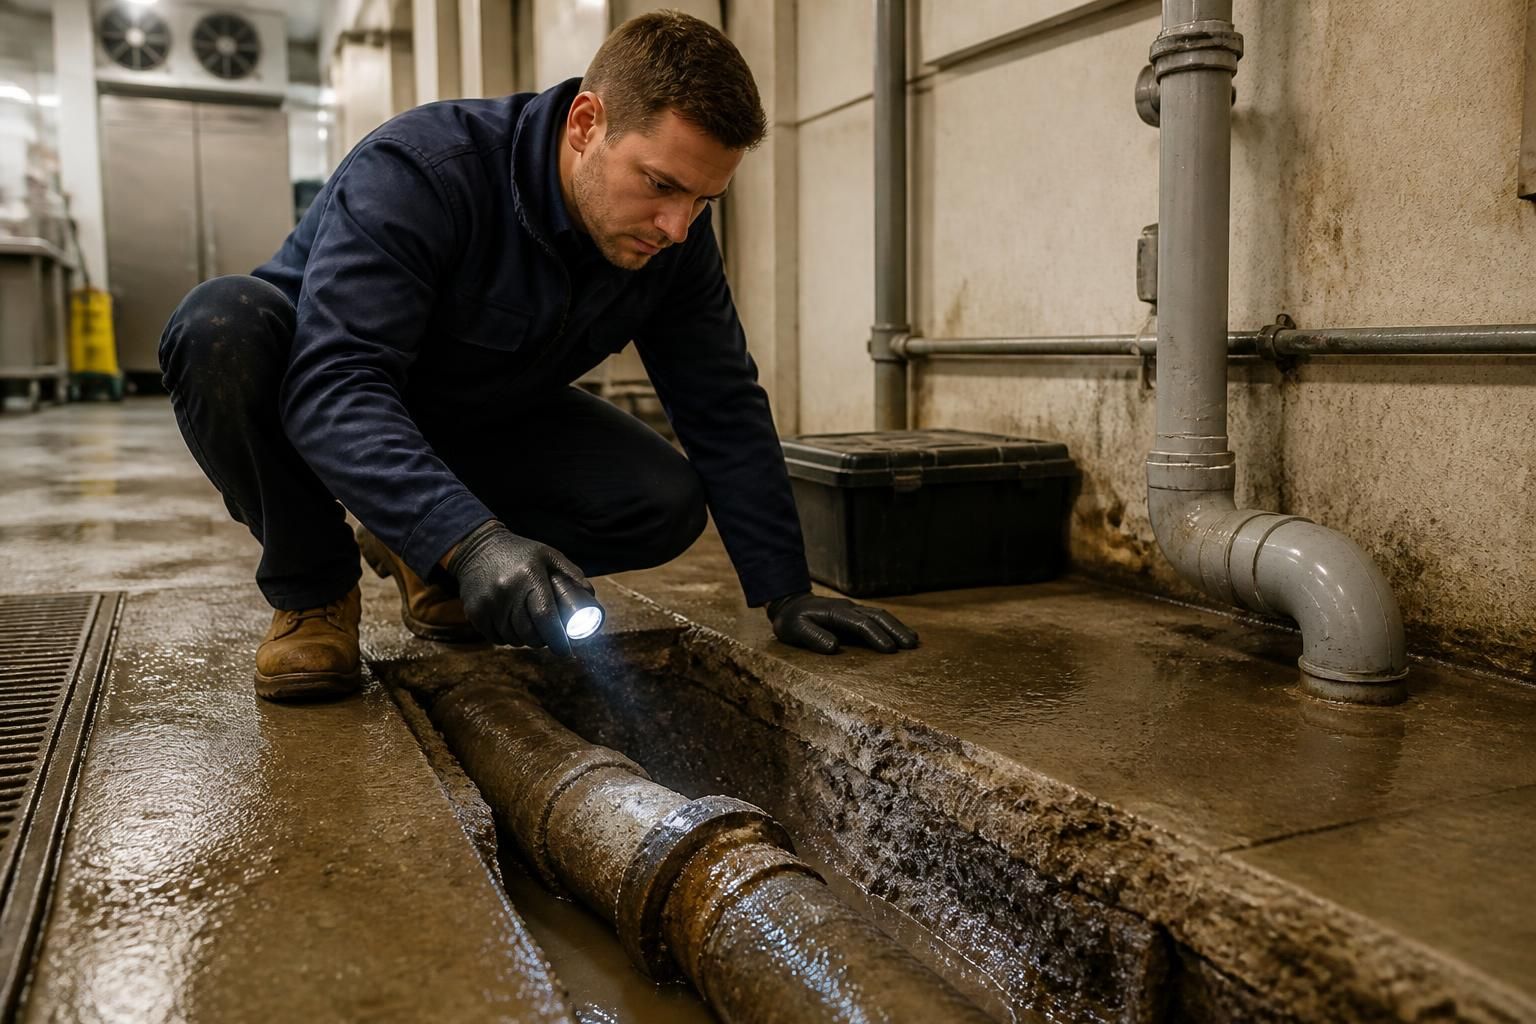
After a commercial drainage leak has been identified, the priority is to control the affected area, document the findings and plan the work so that the repair is safe, proportionate and practical for the premises. The next stages normally involve managing immediate risks, confirming access requirements, selecting a repair method and checking the system after the work is complete.
1. Control the affected area
Where wastewater is escaping, staff, visitors and contractors should be kept away from contaminated surfaces until they have been cleaned and assessed. Any fixtures connected to the affected drain may need to be taken out of use temporarily. Moving stock, equipment or stored materials away from the leak can also reduce damage while the repair is arranged.
A drainage leak does not always require the building’s mains water supply to be turned off. The appropriate control measure depends on whether the problem involves a waste pipe, underground drain, soil stack or another part of the system. Unnecessary isolation can disrupt unrelated facilities, so the affected section should be identified before services are restricted.
2. Record the findings
The inspection findings should be recorded clearly, including:
- the location of the defect and the route of the affected pipework;
- whether the leak is above ground, below ground or concealed within the building;
- the apparent cause, such as a displaced joint, crack, corrosion, impact or obstruction;
- any visible water damage, contamination or structural concern; and
- which toilets, sinks, appliances, work areas or other facilities may be affected.
For a commercial property, photographs, inspection footage and a written description can be useful for maintenance records, landlord communication and insurance discussions. They also help distinguish the original defect from any later damage or repair work.
3. Confirm the repair specification
The recommended repair should match the type and position of the defect. A localised joint failure may be dealt with differently from a cracked underground run, repeated movement or a section that has deteriorated over a wider area. The condition of nearby pipework should also be considered, as repairing one point may not resolve an underlying problem elsewhere in the same run.
Before work begins, the responsible person should understand what will be accessed, which facilities may be unavailable, whether excavation or removal of finishes is required, and how the area will be reinstated. A clear written quotation should separate the proposed work from any optional or additional work. Ideal Plumbing Services provides clear pricing with no hidden charges.
4. Arrange safe access
Access requirements can be more involved in commercial premises than in a domestic property. The work may need to be coordinated around customers, employees, deliveries, kitchens, washrooms, storage areas or other operational restrictions. If the pipe is beneath flooring, paving or a hardstanding area, the repair plan should explain how the surface will be opened and restored.
Where access is inside the building, suitable protection should be used to limit the spread of dirt and wastewater. Electrical equipment, stored goods and sensitive areas should be considered before opening walls, ceilings or floors. If asbestos-containing materials or other hazardous building materials may be present, the work should not proceed until the relevant assessment and controls are in place.
5. Complete the repair or replacement
Once the method has been agreed, the defective section is exposed where necessary, cleaned or prepared, and repaired or replaced using suitable drainage components. The surrounding pipework and its support should be checked during the work. A pipe that has shifted, lacks adequate support or is subject to recurring blockage may need attention beyond the visible leak point.
For underground drainage, the work may include carefully exposing the pipe, correcting the damaged section and reinstating the ground or surface. In some situations, a repair method that avoids extensive excavation may be appropriate; the suitable option depends on the pipe’s condition, position, access and the nature of the defect. No method should be selected solely because it is less disruptive if it would leave the underlying fault unresolved.
6. Test the drainage system
After the repair, the affected fixtures and drainage run should be used or tested in a controlled manner. This helps check that water flows correctly, connections remain secure and there is no further escape at the repaired section. If the original leak was difficult to trace, a follow-up inspection may be appropriate to verify that the repair has addressed the identified source rather than only its visible symptoms.
The area should then be cleaned, waste materials removed and any temporary restrictions reviewed. Internal finishes, paving or other surfaces may require separate reinstatement depending on the agreed scope of work. A completion record should note the repair carried out, any limitations identified and any recommended follow-up maintenance.
7. Review the cause and prevent recurrence
A repaired leak can return if its cause is not addressed. The property manager or responsible person should consider whether the drainage system has recurring blockages, inadequate falls, damaged supports, unsuitable connections, ground movement or capacity issues. Where the inspection identifies a wider concern, planned maintenance or further investigation may be more appropriate than treating each leak as an isolated incident.
Commercial drainage maintenance may include scheduled inspections, cleaning where required, monitoring of recurring problem areas and prompt reporting of changes such as odours, slow discharge, damp patches or staining. Keeping inspection and repair records makes it easier to identify patterns and plan future work before a small defect causes greater disruption.