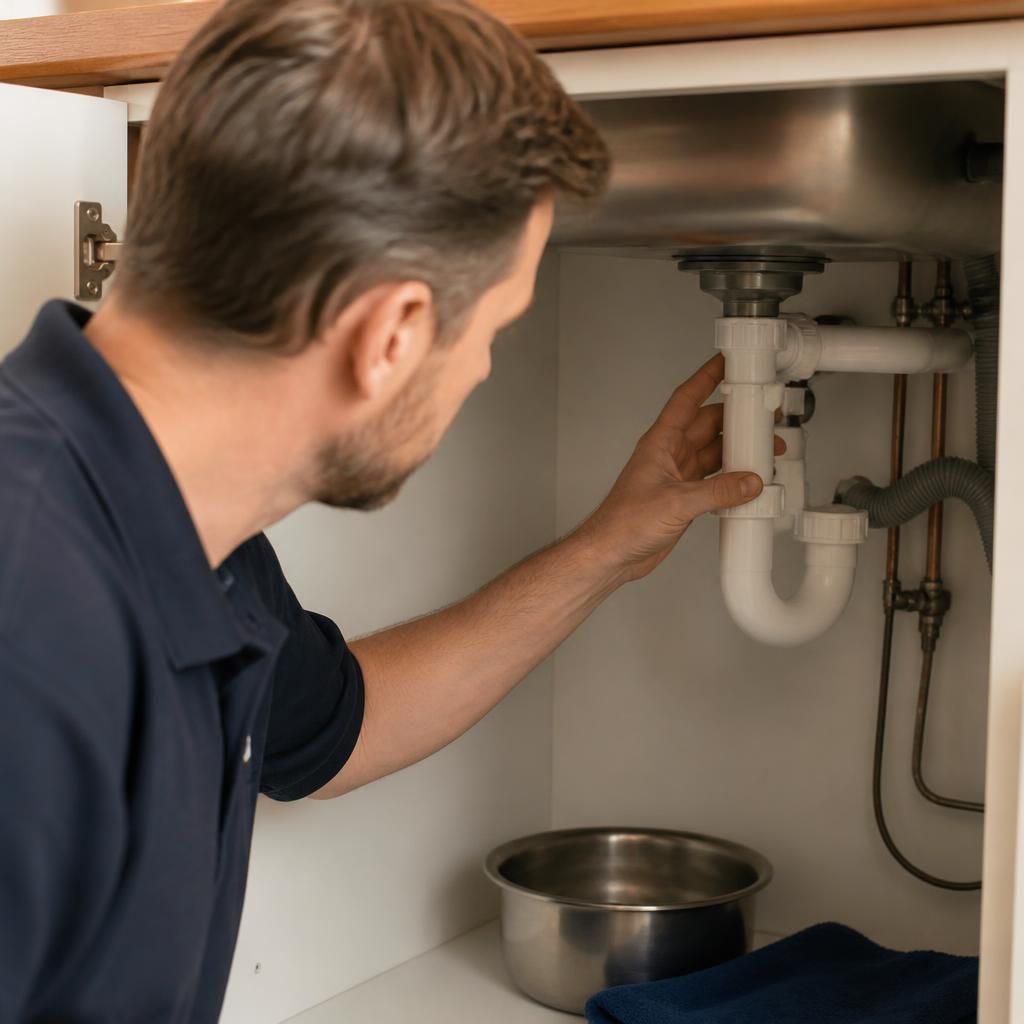
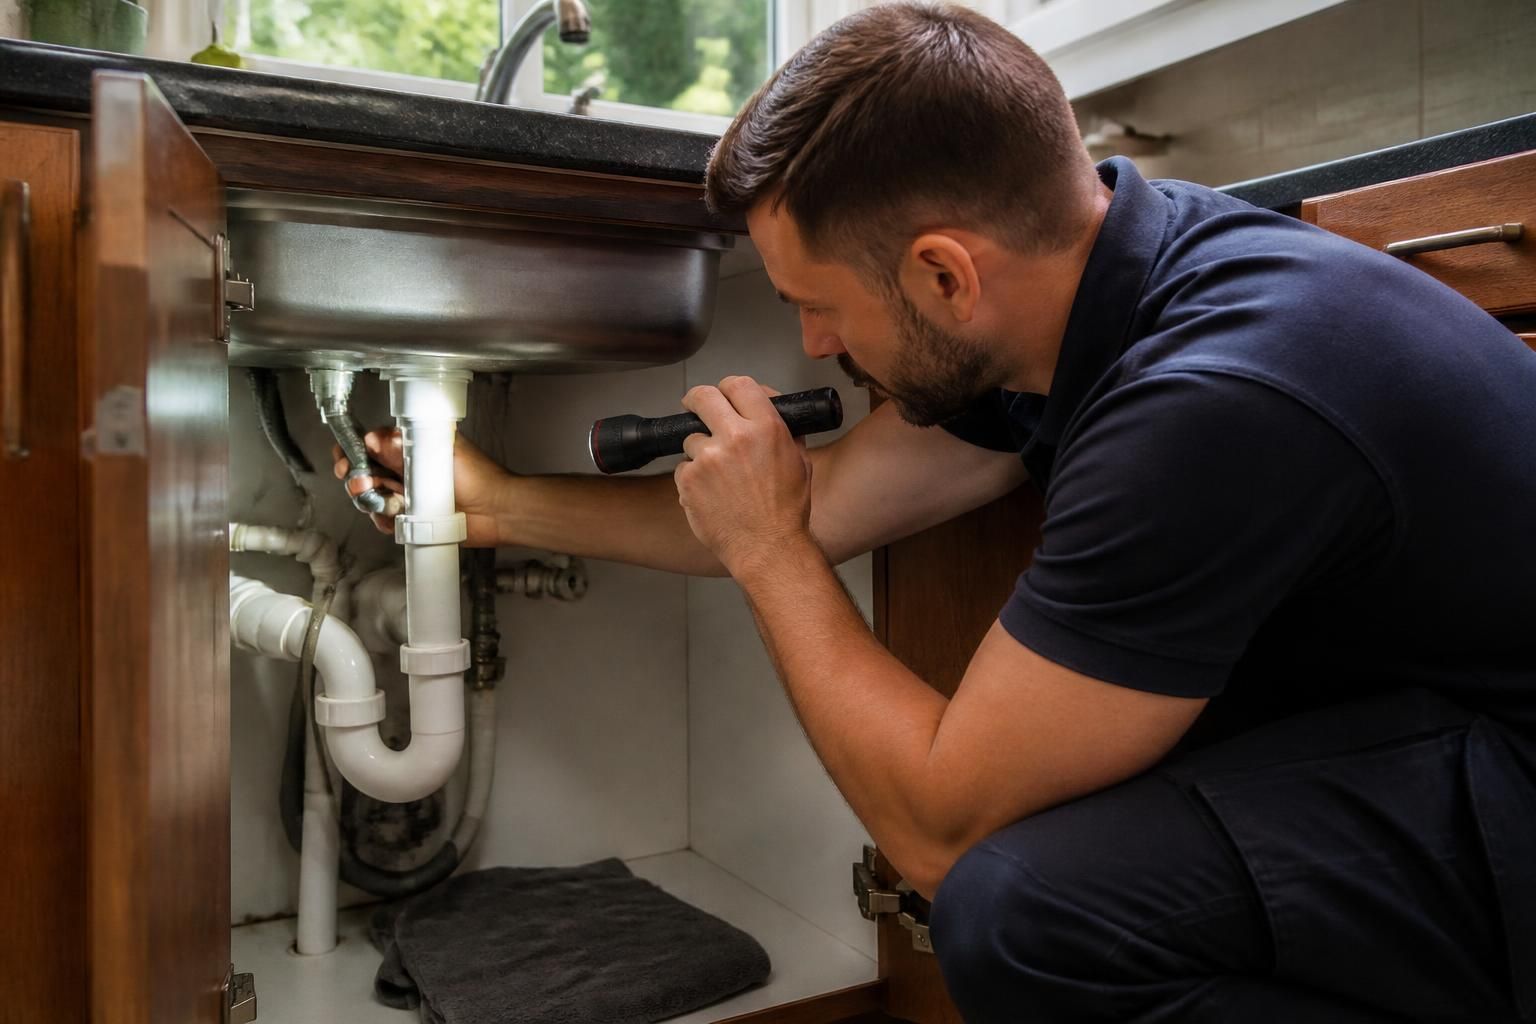
Once the leak has been located, the next priority is to control its effects, confirm the most suitable corrective work and protect the property from further water damage. The follow-up may involve isolating part of the plumbing system, examining the surrounding materials, explaining the available options and arranging any reinstatement needed after the plumbing work.
1. The leak’s impact is assessed
Finding the source does not always show the full extent of the problem. Moisture may have travelled along pipework, beneath flooring or inside a wall before becoming visible. The affected area should therefore be checked for damp materials, staining, mould risk, damaged plasterboard, softened timber and deterioration around cupboards or flooring.
The condition of the pipe or fitting is also considered. A failed joint may need a local correction, whereas corrosion, freezing damage, movement or repeated leakage can indicate that a larger section requires attention. The surrounding plumbing should be assessed so that the work addresses the cause rather than only the visible symptom.
2. The water supply may be isolated
If water is still escaping, the relevant isolation valve or internal stop tap can be used to limit further damage. Where appropriate, the affected section may be drained before work begins. Electrical equipment, sockets and appliances near the leak should not be touched if they may have become wet; the electricity supply should be isolated safely and professional advice obtained.
Isolation is particularly important for concealed leaks because continued pressure can allow water to spread through voids and building materials even when the surface appears only slightly damp.
3. Repair options are explained
The recommended work depends on the location, pipe material, accessibility and condition of the plumbing. Possible approaches include replacing a defective connector, renewing a damaged section of pipe, changing a worn valve or correcting a connection to a sanitary appliance. If a concealed pipe is involved, the access required should be explained before any opening-up work takes place.
A clear explanation should cover:
- what caused the leak and which components are affected;
- whether a local repair or wider replacement is more appropriate;
- how access will be gained and what surfaces may need to be opened;
- the expected materials and work involved; and
- any separate work needed to dry or reinstate the affected area.
For rented properties, the tenant should inform the landlord or managing agent and keep records of the issue. Homeowners may also wish to photograph visible damage and check whether their buildings or contents insurance requires notification before remedial work begins.
4. The property is made safe while the area dries
After the water source has been dealt with, wet materials need time to dry fully. Good ventilation can help, although hidden moisture may require specialist drying equipment. Plaster, insulation, flooring and timber should not be sealed, painted or covered while they remain damp, as this can trap moisture and contribute to mould or material deterioration.
Where water has entered a cabinet, wall cavity or floor void, the area should be monitored rather than judged solely by its surface appearance. Persistent odours, renewed staining, peeling finishes or mould growth may indicate that moisture remains trapped.
5. Access points and damaged finishes are considered
Locating a concealed leak can require limited access through a wall, ceiling, floor or unit. Once the plumbing work is complete and the area is dry, the opening may need to be closed and the finish restored. Plumbing repairs and decorative reinstatement are not always the same task, so the property owner should confirm which elements are included before work starts.
Access should be kept as practical as possible, but avoiding all opening-up work is not always appropriate. Leaving a damaged or difficult-to-inspect section concealed can make future maintenance harder and may allow a recurring fault to go unnoticed.
6. The underlying cause is reviewed
A leak can result from a failed seal, loose connection, corrosion, movement, pressure-related stress, freezing conditions or accidental damage. Understanding the cause helps determine whether any further action is sensible. For example, pipe insulation may be relevant where freezing is a risk, while accessible isolation valves can make future maintenance easier.
Preventative steps may include checking exposed connections, replacing worn valves, securing unsupported pipework and keeping vulnerable pipes protected from cold conditions. These measures do not remove every risk, but they can help identify developing faults before they cause extensive damage.
When further investigation is needed
If dampness continues after the visible plumbing issue has been addressed, the original leak may not have been the only source. Water can also come from a heating circuit, roof, appliance connection, drainage defect or neighbouring property. Ongoing moisture, unexplained water usage, falling pressure or recurring staining should be investigated rather than covered up.
Professional leak detection is useful where the source remains uncertain, the leak is concealed or opening the property unnecessarily would cause avoidable disruption. Keeping notes about when staining appears, which appliances were operating and whether the area changes after the supply is isolated can provide useful information for the next assessment.