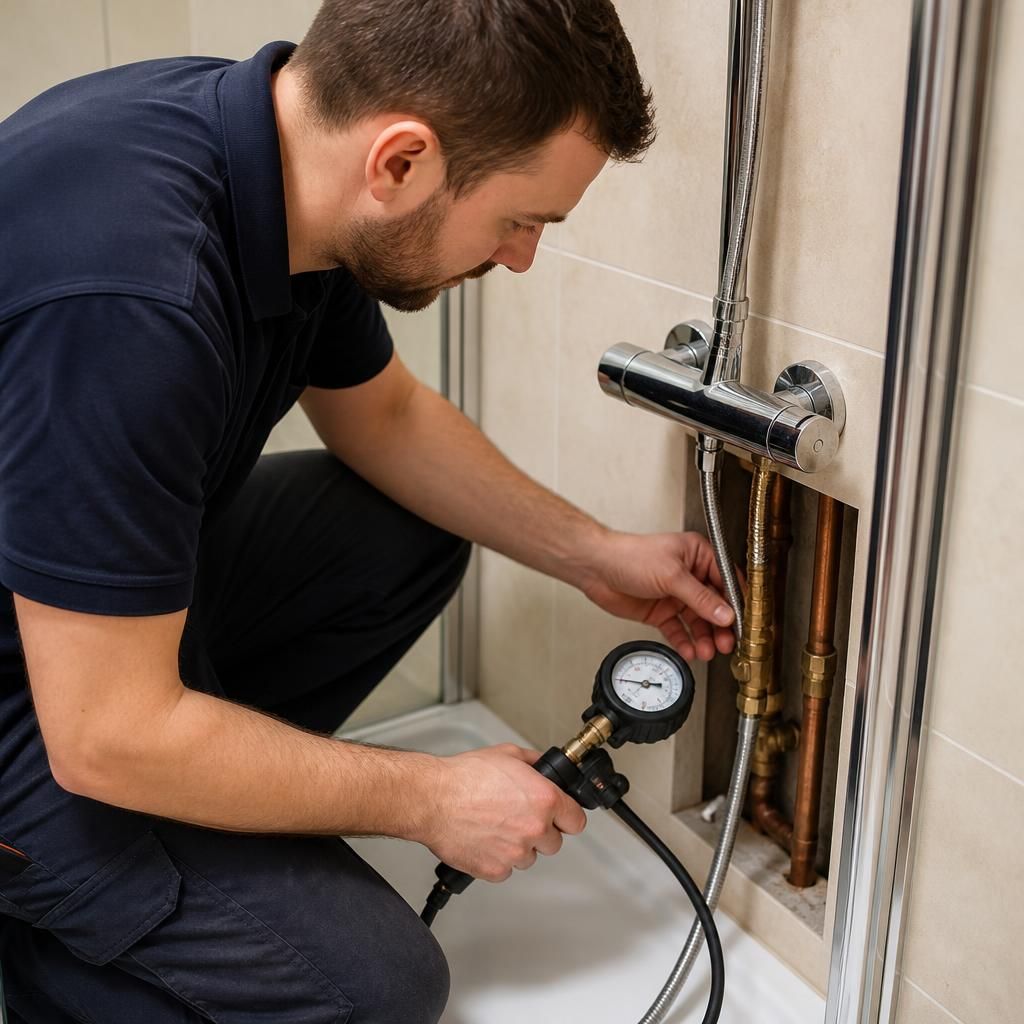
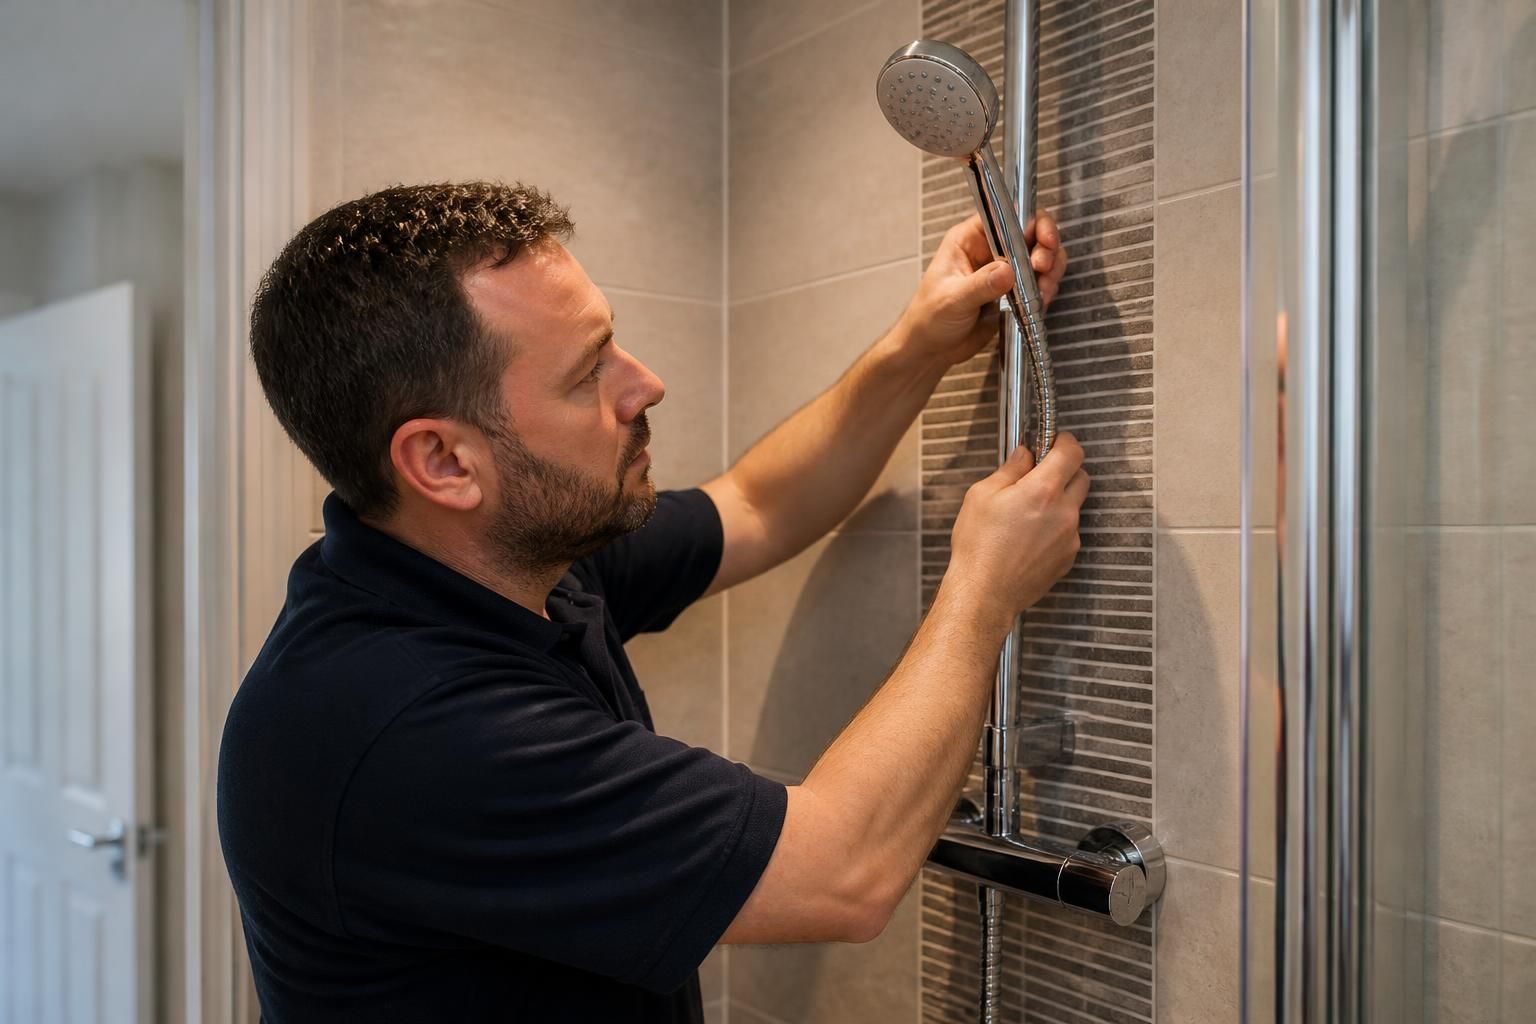
An emergency shower repair inspection is a structured diagnostic assessment used to establish what has failed, whether the shower can be used safely and which repair is appropriate. It normally combines the occupant’s description of the problem with practical checks, controlled testing and examination of the shower’s water, waste and electrical arrangements where relevant.
The inspection usually begins with a short history of the fault. The plumber may ask when the problem started, whether it is continuous or intermittent, and whether it occurs only when the shower is running. Information about dripping, reduced flow, temperature changes, unusual noises, tripped electrical protection, staining or dampness can help distinguish between a supply issue, a shower component fault and a leak elsewhere.
Before testing, the relevant water supply is controlled and the area is made safe. For an electric shower, the electrical supply may need to be isolated before the cover or components are approached. Water and electricity should not be treated as separate risks simply because the visible problem appears to be a leak. If inspection identifies an electrical fault that requires specialist electrical work, this should be explained rather than bypassed.
Depending on the symptoms, the inspection can include:
- Checking the shower head, hose, handset, riser, seals and visible joints for wear or loose connections.
- Examining the shower tray, enclosure, bath edge, wall seals and waste area for routes by which water may escape during use.
- Testing the waste flow and looking for restrictions that could cause water to back up around the tray or bath.
- Comparing the shower’s behaviour at different settings to identify inconsistent temperature, pressure or flow.
- Inspecting accessible valves, cartridges, filters, isolation points and supply pipework for signs of deterioration.
- Looking at adjacent walls, ceilings, flooring and units for secondary evidence such as staining, swollen materials or persistent damp.
Where the source is not visible, the plumber may use a controlled water test or other non-destructive diagnostic method. The aim is to separate water escaping from the shower fittings from water entering through sealant, the enclosure or the waste connection. A damp patch is not always directly below the fault, because water can travel behind finishes or along pipework before becoming visible.
The condition of individual components is considered alongside the wider installation. A worn seal may need replacement, whereas a cracked tray, damaged pipe, failed valve or inaccessible concealed leak may require a different repair approach. The inspection should also establish whether removing a panel, lifting flooring or opening a wall is necessary to reach the defective part. This helps avoid replacing a visible fitting when it is only the symptom of a deeper problem.
After the checks, the findings should be explained in practical terms. This includes the suspected cause, any immediate restrictions on using the shower, the work needed to rectify it and whether further investigation is required. If more than one repair is technically suitable, the differences between a component repair, replacement and wider remedial work should be made clear before a decision is taken.
A useful inspection outcome should leave you with a clear distinction between confirmed findings and items that remain uncertain. It should also identify any follow-up checks needed after the repair, such as running the shower again, checking the waste and observing nearby surfaces for renewed moisture. Keeping photographs of damage, notes about symptoms and details of when the fault occurs can help make the assessment more accurate, particularly where the leak is intermittent.