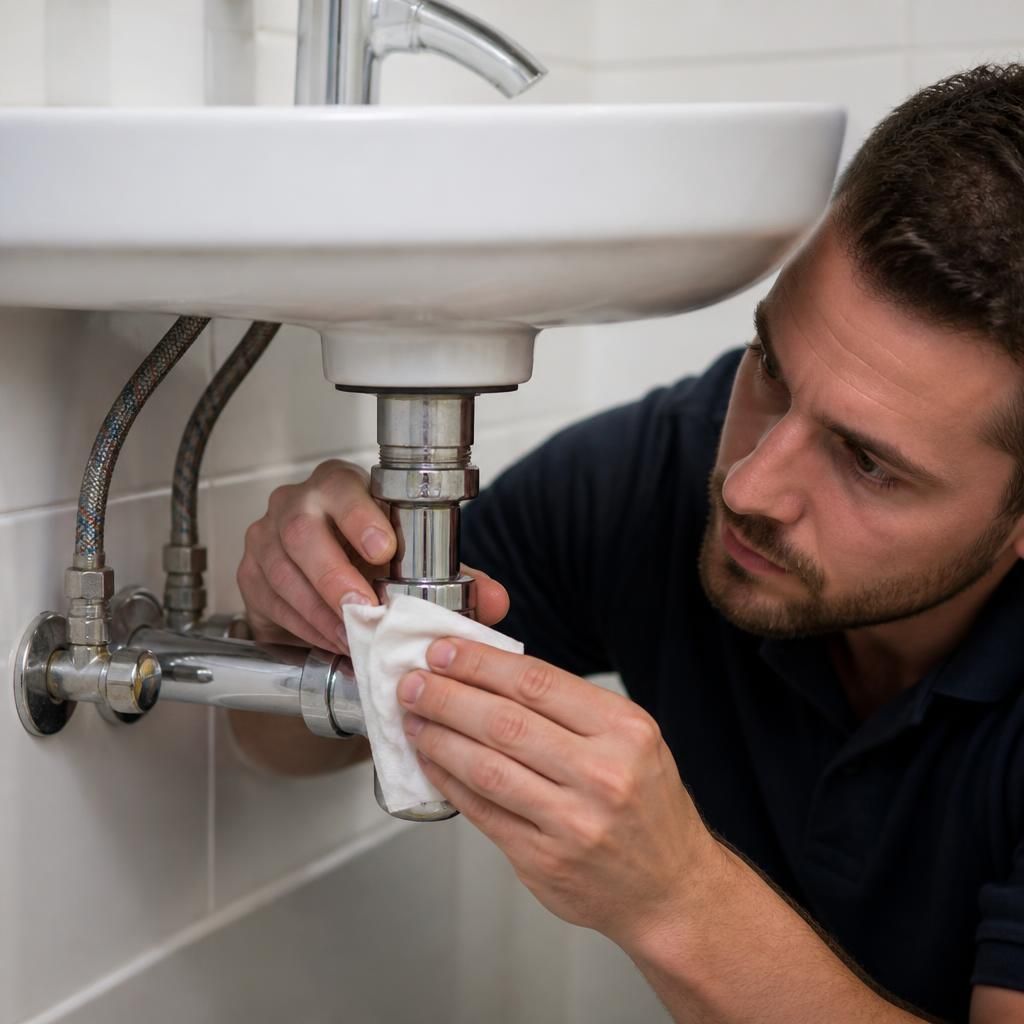
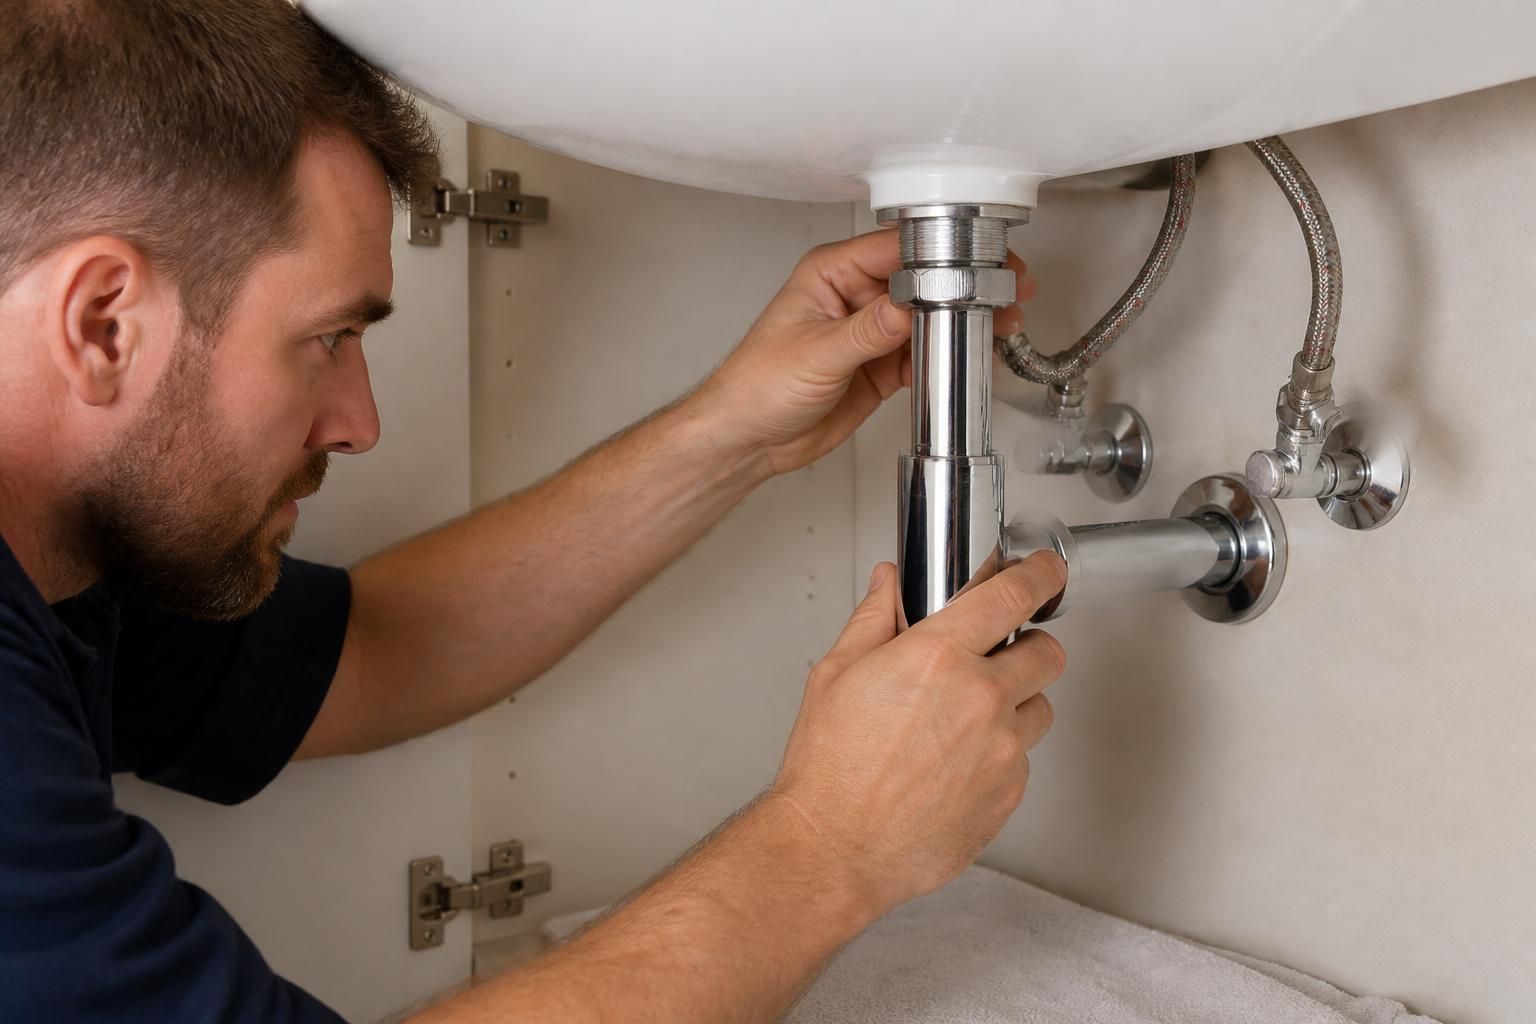
The important issue with a tap leaking at its base is identifying exactly where the water begins. Water can appear around the bottom of the tap because of a failed seal at the mounting point, a leak from the spout joint, a loose connection beneath the basin or sink, or water running down from the handle and collecting at the base. Each source needs a different repair, so replacing the visible part without checking the whole fitting may not resolve the problem.
Where the leak is usually found
- Around the spout: On a swivel mixer tap, worn internal seals can allow water to escape where the spout joins the tap body. The leak is often more noticeable when the spout is moved or when the tap is running.
- At the mounting surface: A deteriorated sealing washer, movement in the fixing nut or mineral deposits beneath the tap can allow water to pass between the tap and the basin or sink.
- Under the sink or basin: The visible water may originate from a flexible connector, tap tail, joint or isolation valve below the worktop before travelling upwards or across the surface.
- From above the base: Water escaping around a handle or control can run down the tap body, making the base appear to be the source. This requires the upper part of the tap to be examined as well.
A plumber normally starts by drying the tap, surrounding surface and connections underneath. The tap is then operated in different positions while the joints are observed. Checking the fitting when it is running and when it is turned off helps distinguish a pressurised supply leak from water left on the surface after use. The condition of the fixing, pipework and surrounding basin or worktop should also be considered, particularly if the tap moves when operated.
Repairs depend on the failed part. A loose mounting assembly may be secured from below, while a damaged washer or joint seal can be removed and replaced with a correctly sized component. Where limescale has affected a joint, the mating surfaces may need cleaning before the new seal is fitted. A spout that has become stiff or loose may require its joint components to be renewed and lubricated with a suitable plumbing lubricant. Connections beneath the sink should be tightened carefully; excessive force can damage the fitting or distort a seal.
Some leaks require more than a straightforward adjustment. If the tap has suffered internal corrosion, has cracked around the base or has distorted threads, fitting new sealing components may not provide a dependable repair. The same applies where the basin, sink or worktop has been damaged around the tap hole and can no longer support the fitting securely. In these circumstances, the plumber should explain whether the defect can be isolated to one replaceable part or whether the tap and associated fittings need more extensive work.
Before a repair is carried out, the water supply should be isolated using the relevant isolation valve or the main stop tap if the local valve cannot shut off the flow. Do not force a seized valve, as this can cause a separate leak or damage the connection. Place a container or towel beneath the pipework to protect the cupboard and remove standing water so that any continuing leak can be identified accurately.
A leaking tap base should not be ignored even if the amount of water seems small. Repeated moisture can damage the underside of a worktop, swell cabinetry, mark a basin or sink, and encourage mould in poorly ventilated spaces. If the leak is near an electrical appliance, stop using the affected area and deal with the water supply safely before investigating further.
An emergency tap repair is therefore often suitable for a base leak, provided the tap body, mounting point and connected pipework are still serviceable. A proper assessment should confirm the source before parts are changed, identify any damage below the sink or basin, and distinguish a repairable seal or connection from a fitting that has reached the end of its usable condition.