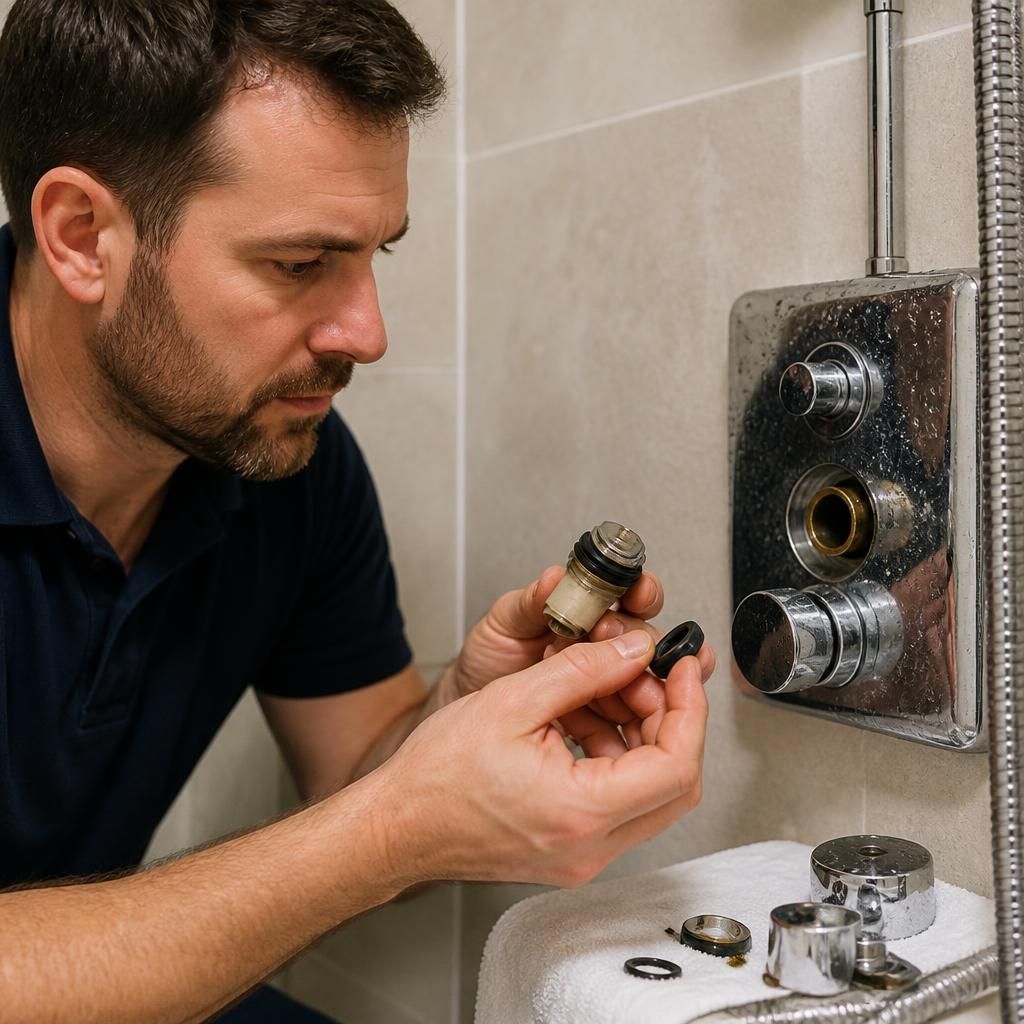
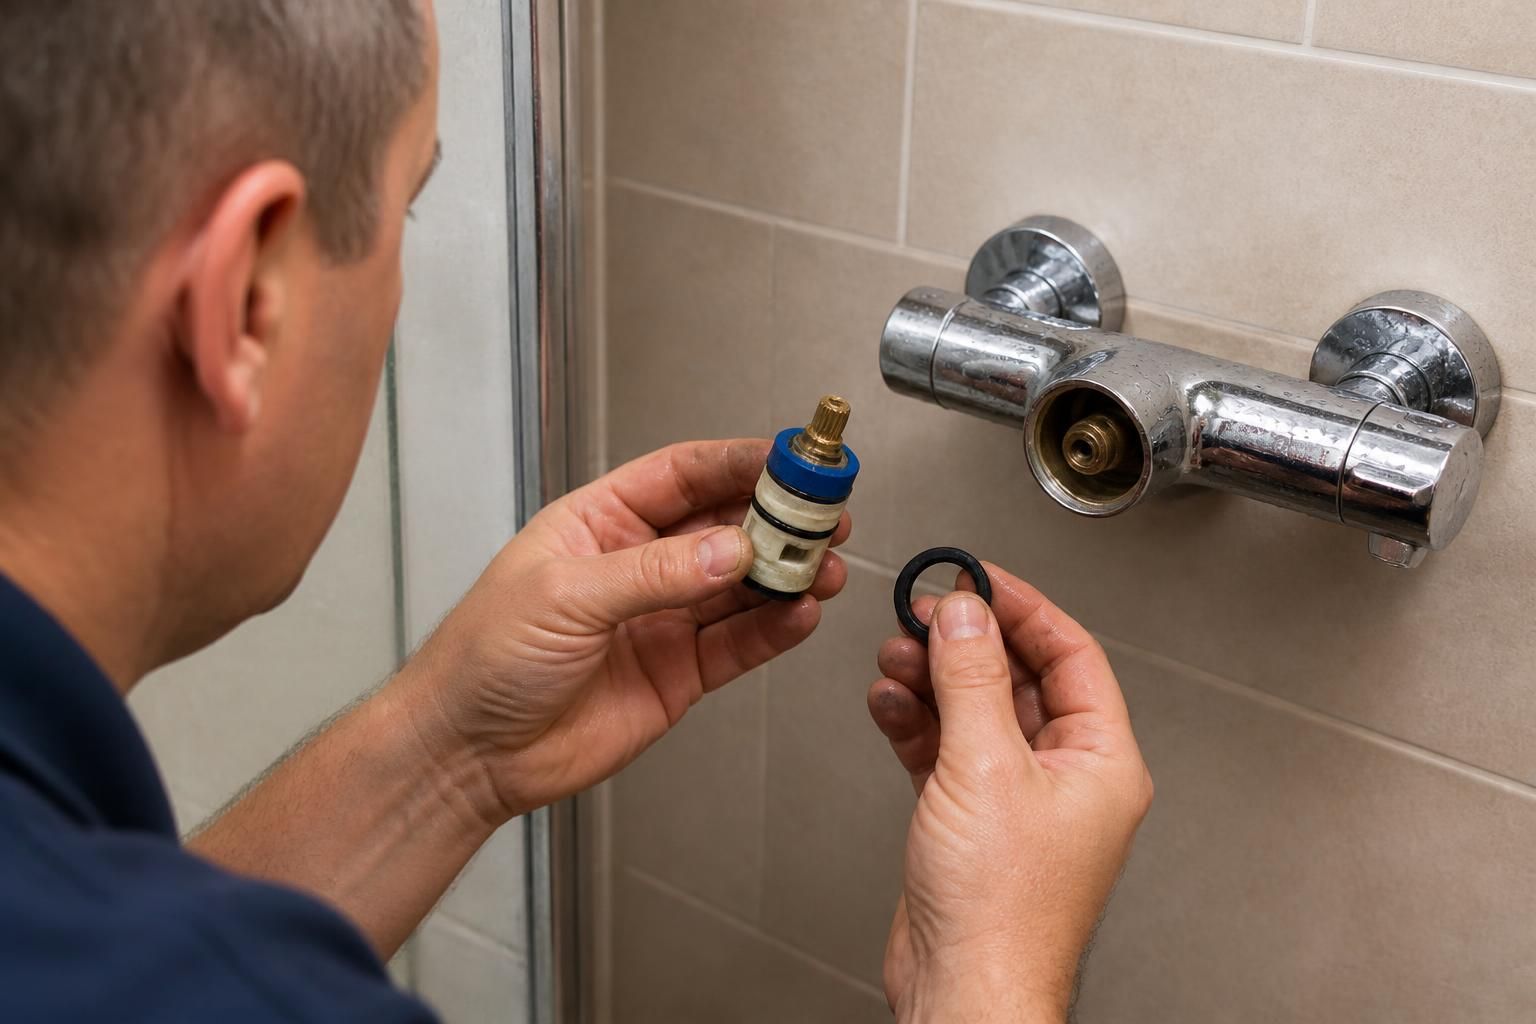
In many cases, the complete shower valve does not need to be changed. The appropriate repair depends on where the water is escaping and which internal component has failed. A leaking handle, worn cartridge, damaged seal or loose connection can often be dealt with while retaining the existing valve body and external trim.
A plumber will normally identify the source before removing the fitting. Water leaking from the handle or temperature control can indicate a worn cartridge, spindle seal or O-ring. A drip from the shower outlet may be linked to the valve’s internal seal, while water appearing around an inlet or outlet connection may require a new washer, joint seal or correctly tightened connection. These faults are different, so replacing the wrong component may not stop the leak.
- Cartridge: thermostatic and some mixer valves use a cartridge to regulate flow and temperature. A worn or scaled cartridge may be replaced if a suitable matching part is available.
- Seals and O-rings: small rubber components can harden, split or lose their shape. Replacing them may resolve a leak from a control or connection.
- Washers and valve inserts: these can deteriorate over time and may cause dripping when the shower is turned off.
- Connections: a leaking threaded joint may need resealing or a replacement washer rather than a new valve.
Repair is less suitable when the valve body is cracked, heavily corroded, distorted or has damaged threads. A body that has deteriorated may not hold a replacement cartridge or seal securely. Continued leakage after a component repair can also indicate that the underlying valve body is no longer serviceable. In those circumstances, replacing the complete valve is usually the more dependable option.
The condition of the internal parts matters as much as the visible appearance of the shower. A valve may look sound externally but contain seized components or corrosion that prevents safe removal. Conversely, a stiff control does not automatically mean the whole fitting has failed; scale or a worn cartridge may be the cause.
The repair process generally involves isolating the water supply, removing the control or access cover, examining the relevant component and checking the valve body for damage. The replacement part must match the valve’s design and dimensions. After reassembly, the connections and controls should be checked for leaks and correct temperature and flow operation.
Before arranging a repair, avoid forcing a stiff control or repeatedly operating a leaking valve, as this can damage the spindle, trim or surrounding seal. If water is reaching the wall, floor or ceiling below, isolate the supply to the shower where possible and arrange an assessment. Birmingham homeowners, landlords and tenants can use a qualified local plumber to determine whether a component-level repair is appropriate or whether full replacement is required.