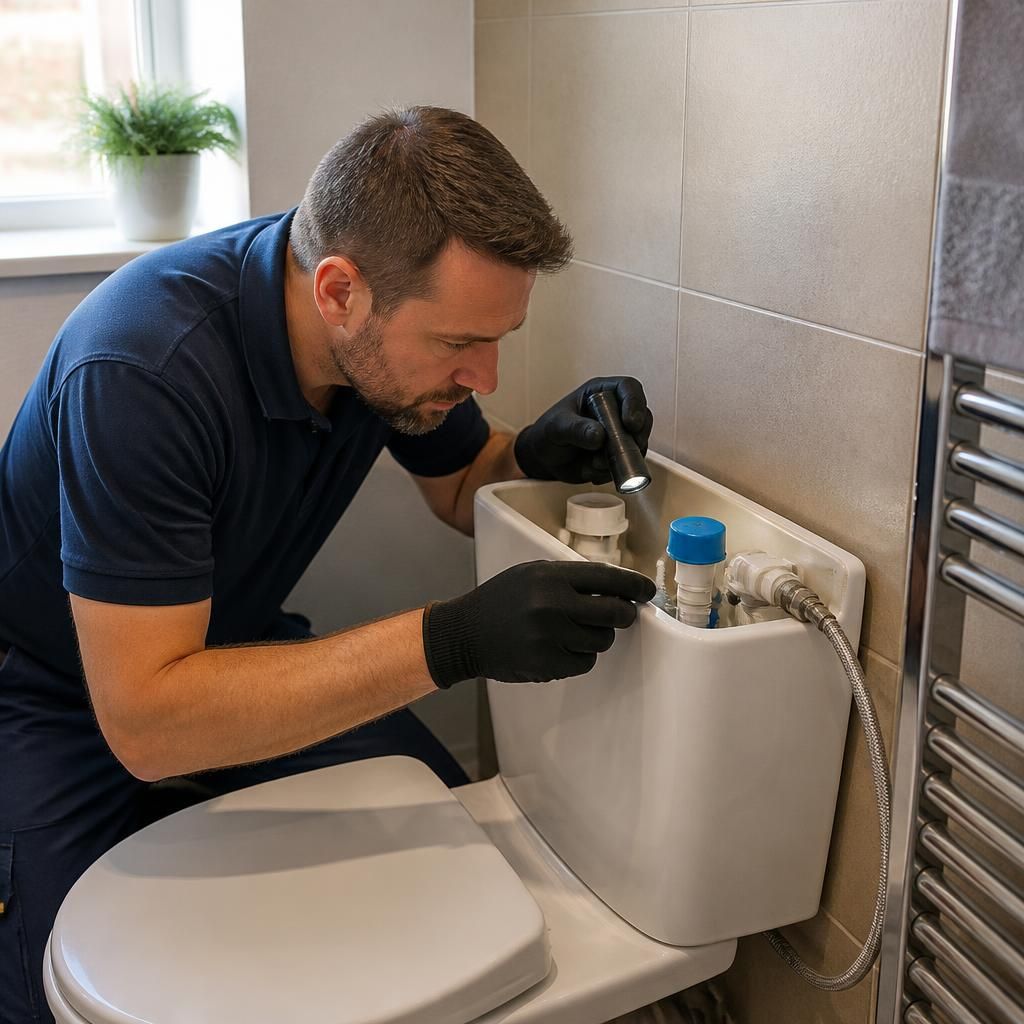
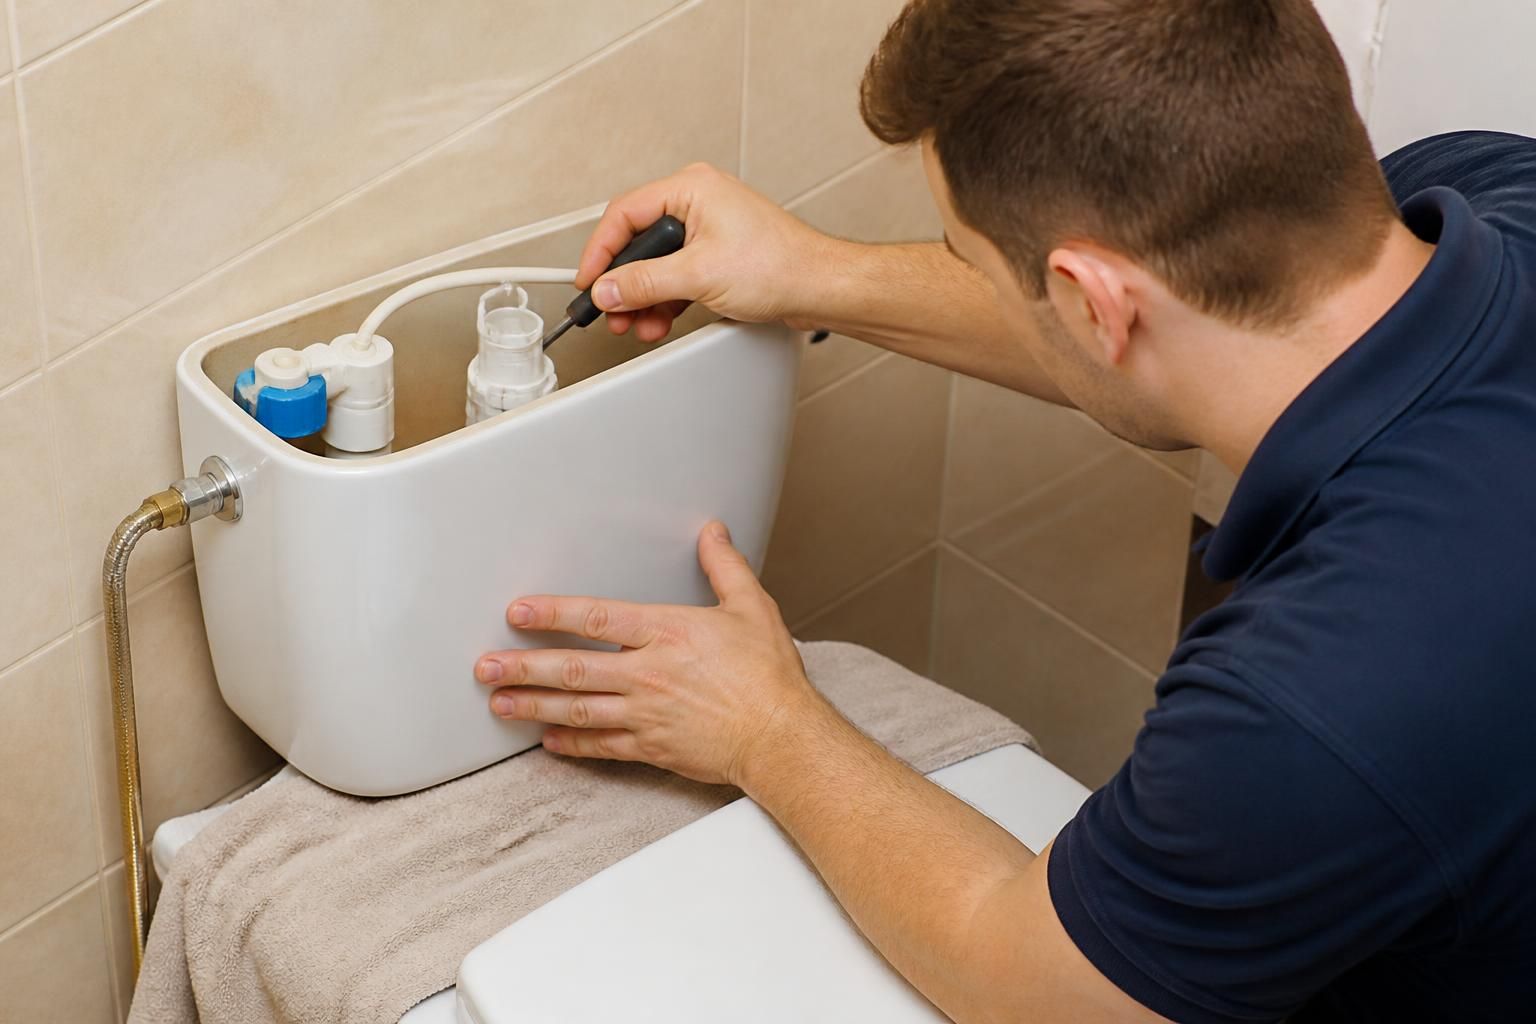
Preparing for a toilet cistern repair means making the area safe, gathering useful information and avoiding actions that could worsen the fault. In addition to controlling any immediate water issue, check the toilet’s condition, protect nearby belongings and make sure the plumber can inspect the cistern and its connections without obstruction.
- Keep the cistern and fittings intact. Do not remove the lid, loosen connection nuts or attempt to replace internal parts unless you are confident about the procedure. Older plastic fittings can become brittle, while forcing seized components may turn a minor repair into a replacement job.
- Protect the surrounding area. Move bathroom products, floor mats, laundry and storage items away from the toilet. If water has reached flooring, wipe up standing water and check adjoining areas, such as the room below, for signs of dampness or staining.
- Keep electrical items away from water. Remove portable heaters, chargers and other electrical equipment from the area. Do not handle plugs, switches or appliances with wet hands; if water has reached an electrical fitting, leave it alone and arrange appropriate electrical assistance.
- Record useful details. Write down when the problem began, whether it is constant or intermittent and what happens during flushing. Note symptoms such as a cistern that fails to refill, a handle that sticks or water appearing around a connection. Photographs of visible damage can also help, particularly if the fault changes before the appointment.
- Check the toilet type. Make a note of whether the cistern is exposed, concealed behind a panel or integrated into a close-coupled toilet. If accessible, record any name or model information on the cistern or toilet paperwork. This can help identify compatible internal mechanisms, although the plumber will still need to inspect the installation.
- Prepare relevant documents. Keep receipts, previous repair details, installation paperwork and any spare parts with the property records. If you rent the property, tell the landlord or managing agent and confirm whether they need to authorise the repair before work begins.
- Keep children and pets away. A loose lid, sharp ceramic edge or wet floor can create an avoidable hazard. Prevent use of the area until it has been checked if the cistern is cracked, unstable or leaking significantly.
Avoid pouring drain cleaner, descaling chemicals or other substances into the cistern. These products are not a substitute for repairing a faulty valve or seal and may damage rubber components or make the water unsafe to handle. Do not attempt to seal a cracked cistern with household adhesive, as this is unlikely to withstand water pressure.
Before work starts, explain any concerns about flooring, boxing-in, recently decorated surfaces or access panels. Also ask what the proposed repair involves, whether internal parts or the complete cistern may be required, and whether any further issue was found during inspection. This helps distinguish a straightforward component repair from work involving concealed pipework or damaged ceramic.
If the cistern is visibly cracked, water is reaching electrical fittings or the leak is affecting another part of the property, treat the situation as urgent and avoid using the toilet until it has been assessed. A qualified plumber can then identify whether the problem is limited to the inlet valve, flush mechanism, seal or connection, and advise whether repair or replacement is the more suitable option.