A water heater is checked for hidden leaks through a controlled inspection and diagnostic process that separates a genuine leak from condensation, discharge from a safety valve or moisture from nearby pipework. The plumber first assesses the appliance and surrounding area, then uses non-invasive checks where possible before carrying out tests that may help trace concealed water loss.
1. Establishing the conditions
The inspection begins by recording the heater’s condition and asking when moisture was first noticed, whether it appears only while the heater is operating, and whether the water supply or heating system has recently been altered. The surrounding floor, wall, cupboard, ceiling and adjacent pipe routes are checked for staining, softened materials, mould growth or a musty smell. These details can show the direction in which water has travelled, even when the original leak is out of sight.
The plumber also considers whether the moisture could be caused by condensation. Cold inlet pipework can collect surface water in humid conditions, while a discharge pipe may release water because of pressure or temperature changes. Distinguishing these issues from a split pipe or failed tank prevents the wrong component from being repaired.
2. Inspecting accessible components
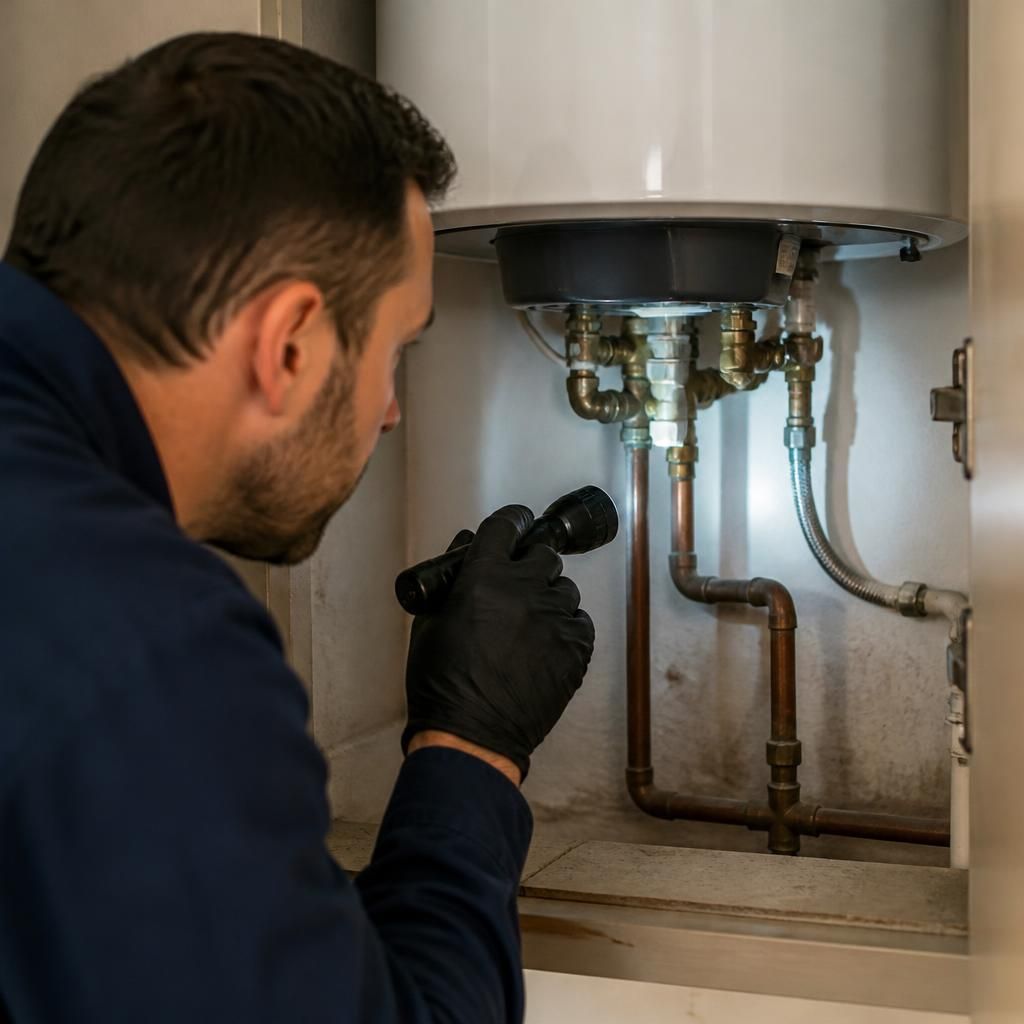
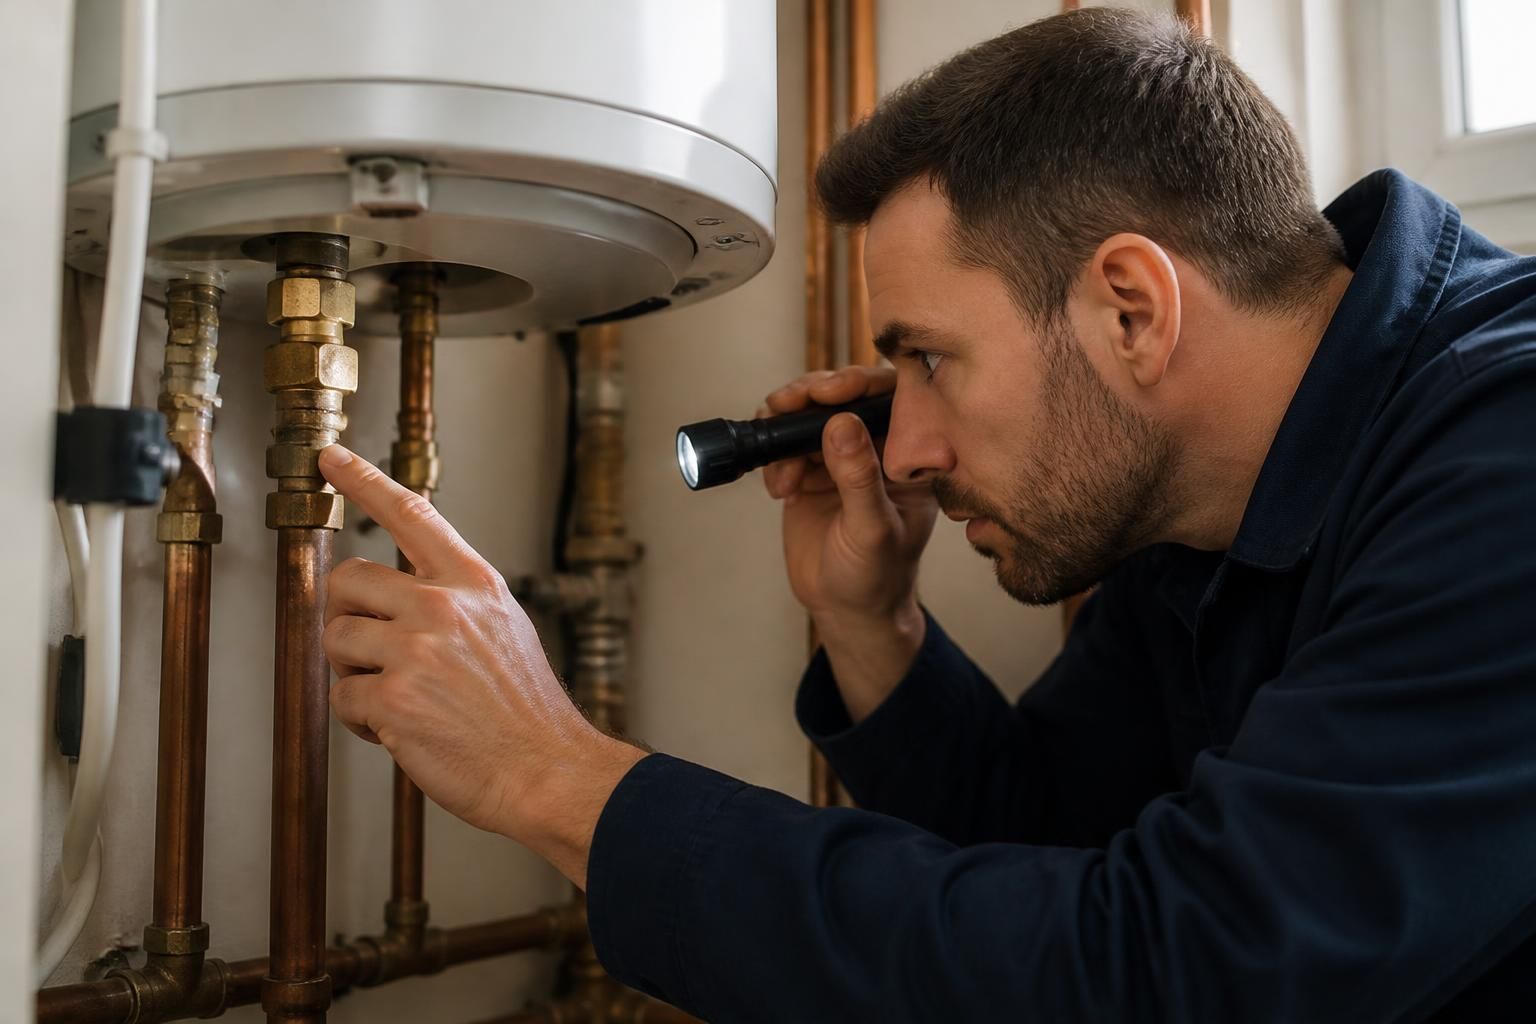
Once it is safe to do so, the accessible casing, service connections and nearby pipe routes are examined with a torch and inspection mirror. Particular attention is given to joints, threaded fittings, flexible connectors, isolation valves, drain points and the area beneath the heater. Small leaks can leave mineral deposits, rust, discolouration or a narrow trail of water rather than an obvious pool.
Where a cover or access panel needs to be removed, this should be done only by a suitably qualified person. Covers can conceal electrical terminals, hot surfaces or pressurised components. A water heater should not be dismantled simply to search for a leak.
3. Making the appliance safe
Before testing, the plumber may isolate the water supply and, depending on the appliance type, shut down its electrical or fuel source in accordance with the manufacturer’s safety requirements. This limits further water loss and reduces the risks associated with hot water, electricity, gas and stored pressure. The heater must be allowed to cool where hot surfaces or water could make inspection unsafe.
If water is close to electrical equipment, the power should not be touched with wet hands. A person who is not trained to isolate the relevant system should avoid operating electrical or gas controls and should arrange professional assistance instead.
4. Tracing concealed moisture
When the source is not visible, a plumber may use a moisture meter to compare readings around the heater, flooring, wall surfaces and adjoining cupboards. Thermal imaging can sometimes identify temperature differences associated with dampness or hot-water movement, although it does not prove the exact source by itself. An inspection camera may help examine concealed voids or pipe routes where access is available without unnecessary damage.
These methods are interpreted alongside the layout of the system. Water can run along a pipe, baseboard or floor before appearing several feet from the failed joint, so the wettest visible point is not always where the leak began.
5. Carrying out controlled pressure checks
Pressure testing may be used after the relevant section has been isolated. The test arrangement depends on whether the suspected fault is in the incoming supply, hot-water outlet, heating circuit, safety discharge route or the heater’s internal tank. A pressure reading is observed for changes over a controlled period, while accessible joints and discharge points are checked for movement or renewed moisture.
A pressure drop can indicate water escaping from the isolated section, but it must be interpreted carefully. Temperature changes, trapped air, a passing valve or an incorrectly isolated circuit can also affect readings. Testing should therefore be carried out with suitable equipment and within the limits appropriate to the appliance, rather than by applying excessive pressure.
6. Assessing the tank and internal failure
If the external connections remain dry but moisture continues to appear, the tank, cylinder or internal heat-exchanger area may be considered. Corrosion, a failed seal or a fracture can allow water to escape inside the casing or through the base. Where the tank itself has failed, replacing an external fitting will not resolve the underlying problem.
The result of the inspection should identify the most likely source, the evidence supporting that conclusion and whether the fault can be repaired or requires further investigation. Photographs, moisture readings and pressure-test results can be useful when explaining concealed damage to a homeowner, landlord or tenant.
Do not seal over staining, repeatedly repressurise a system or leave a leaking heater operating in the hope that the moisture will stop. Isolate the appliance only if it is safe to do so, keep clear of hot water and electrical components, and have the fault assessed by a qualified plumbing professional. Ideal Plumbing Services provides water leak detection and plumbing repairs for homes across Birmingham and the wider West Midlands.