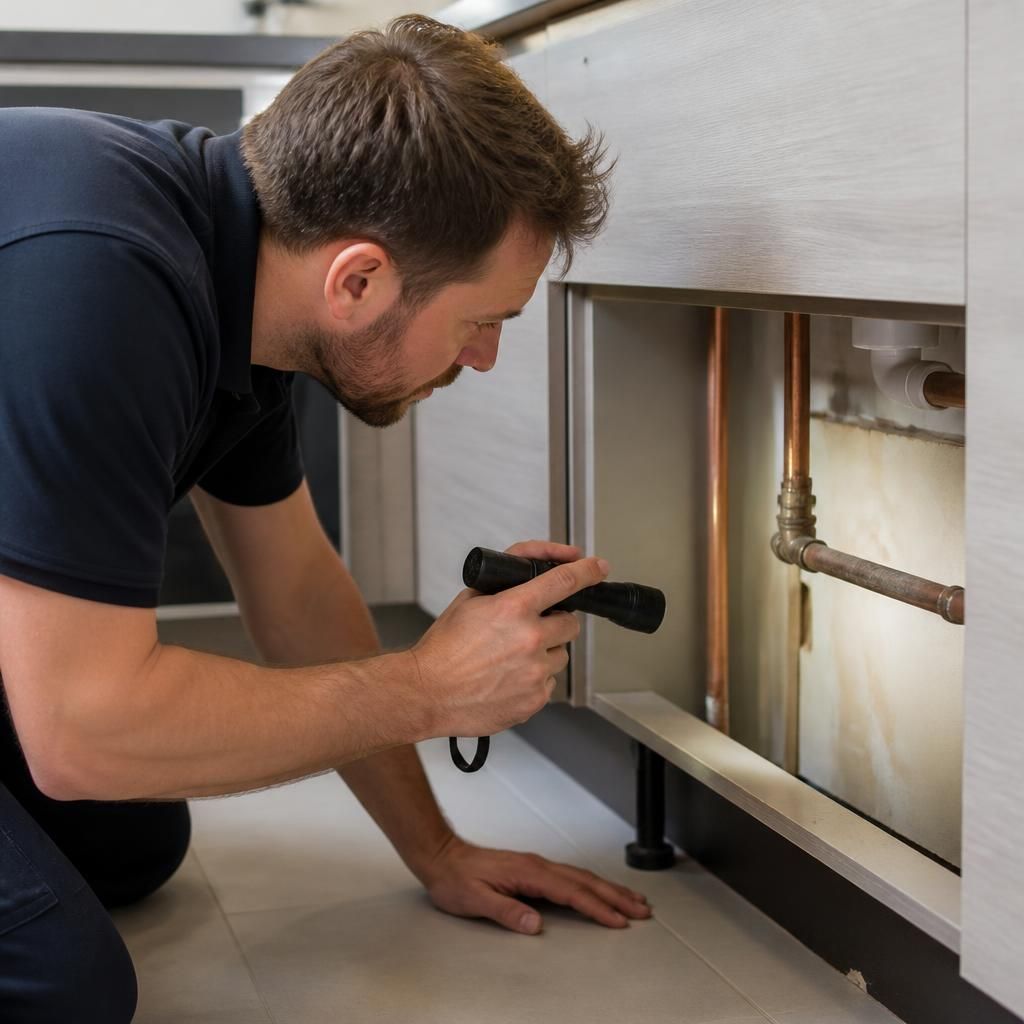
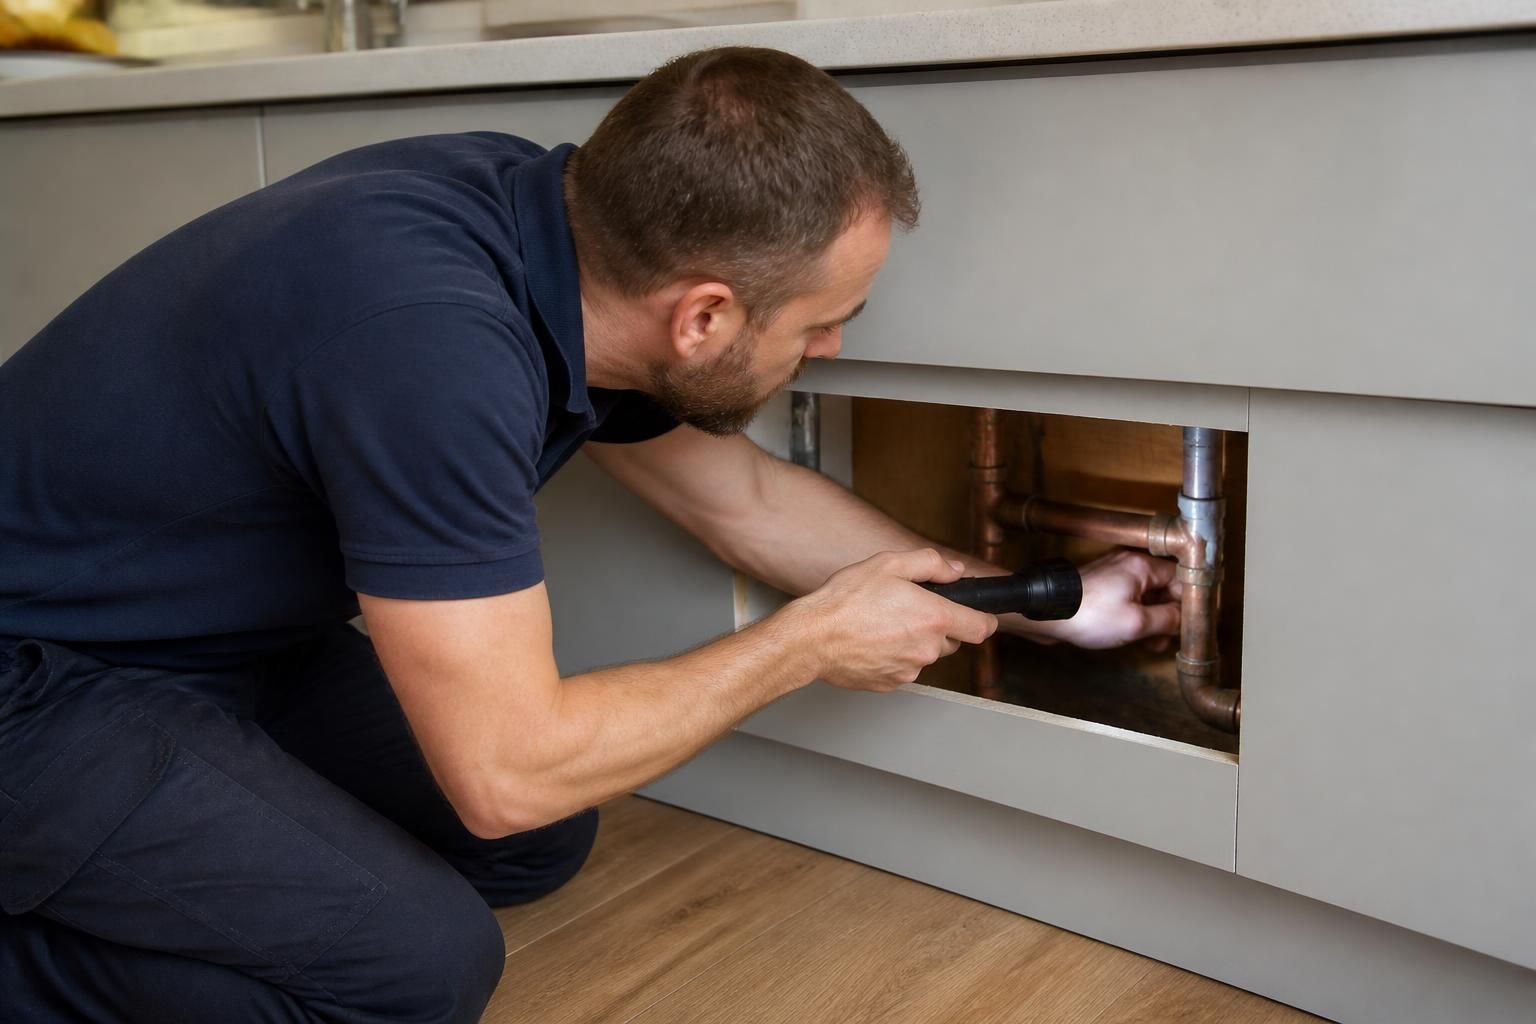
Keeping access to a leaking pipe limited means carrying out the investigation in stages, exposing only the area needed to confirm the pipe’s condition and complete the repair. The aim is to preserve surrounding plaster, flooring, tiles, cupboards and finishes wherever they are not directly involved.
Access is normally planned around the pipe’s route and the most practical entry point. A plumber may first inspect visible joints, valves, appliances and fittings, then use suitable detection equipment to narrow down the affected section. This helps distinguish the actual leak location from the point where water has travelled through a wall, ceiling or floor. Damp marks alone are not always a reliable guide to where the pipe has failed.
Where possible, the pipe is approached through an existing opening rather than by creating a new one. Examples include:
- removing a kickboard beneath a kitchen unit;
- lifting a small number of floorboards;
- accessing pipework through a service void or removable panel;
- working from the less finished side of a partition wall; or
- removing a fitting or accessible section of boxing-in.
Before any opening is made, the surrounding area can be protected and nearby services considered. Water supplies may be isolated to reduce further escape while the pipe is examined. The location of electrical cables, structural supports, heating components and other pipework is also relevant, since cutting without checking what lies behind a surface can create additional damage.
Detection methods help reduce unnecessary opening. Depending on the circumstances, a professional may use acoustic equipment to listen for escaping water, moisture readings to compare affected areas, thermal imaging to identify temperature differences, or visual inspection through an existing access point. These methods do not replace physical confirmation in every case, but they can help establish a more precise working area before finishes are disturbed.
Once the likely section has been identified, access is usually enlarged gradually rather than removed wholesale. A small inspection opening may confirm the pipe material, joint type and direction of the run. The opening can then be extended only as far as needed to remove the damaged section, fit the repair and test the result. This staged approach is particularly useful where pipework runs behind tiled walls, fitted units or finished flooring.
The repair method also affects how much access is required. A leaking joint may need less exposure than a split or corroded length of pipe. Copper, PVC and other pipe systems have different jointing methods, so the plumber needs enough working room to cut, prepare and connect the replacement section securely. Trying to work through an opening that is too small can compromise the repair, while making a large opening without a clear reason causes avoidable disruption.
After the pipe has been repaired, the system should be checked for further leakage before the access area is closed. The exposed section needs to remain reachable for testing and inspection until the repair has been assessed. If the location is likely to need future maintenance, a suitable access panel may be more practical than permanently sealing the area.
Limited access is not always possible. A pipe may be deeply embedded, positioned beneath a solid floor, enclosed by structural materials or affected over a wider area than initially indicated. In those circumstances, the safest approach may require a larger opening or access from an alternative direction. The extent should be based on the pipe’s condition and the work needed, not on a fixed assumption that every leak can be repaired through a small hole.
A professional pipe leak inspection therefore balances three requirements: locating the fault accurately, creating enough space for a sound repair and protecting unaffected parts of the property. This provides a controlled method of dealing with the leak while keeping surface disturbance proportionate to the work involved.