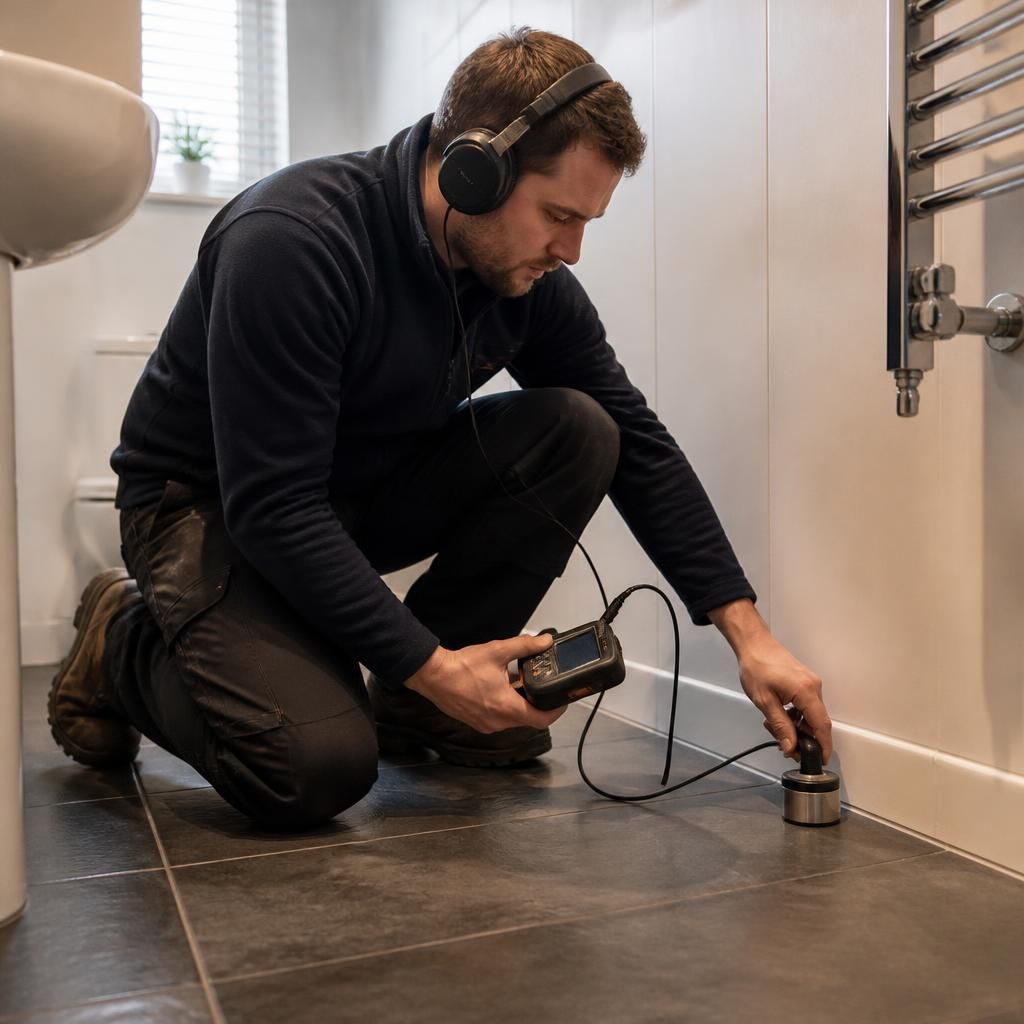
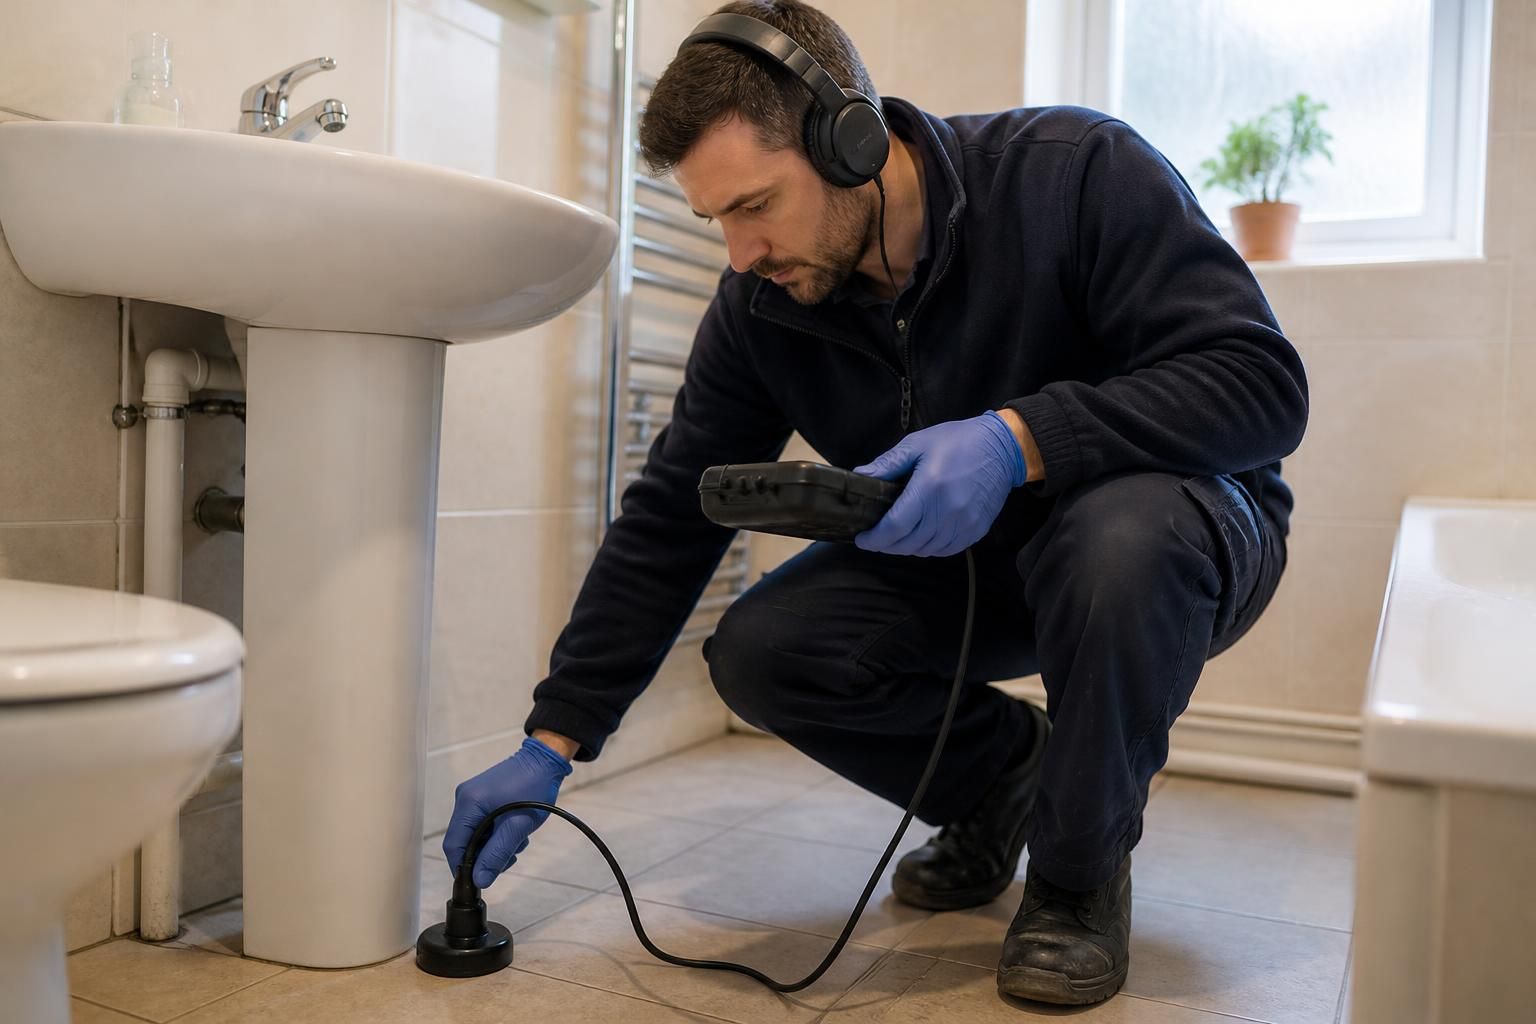
A professional pipe leak detection inspection is a structured process used to confirm whether a concealed water leak is present, narrow down its position and assess the evidence before any opening-up or repair work is recommended. The inspection is designed to distinguish a pipe leak from other causes of damp, such as condensation, failed sealant, roof ingress or an overflowing appliance.
1. Establishing the plumbing layout
After the initial assessment, the plumber identifies the relevant parts of the system, including the incoming mains supply, cold-water storage, hot-water pipework, heating circuits and visible appliance connections. Understanding which pipe serves a bathroom, kitchen, radiator or external outlet helps determine which sections should be tested and prevents unrelated pipework from being included in the results.
The plumber may ask for information that helps narrow the investigation, such as whether the water meter continues to register usage when all outlets are closed, whether a boiler pressure drops, or whether the problem changes when a particular appliance is used. This information helps separate a pressurised supply leak from a discharge, drainage or heating-system fault.
2. Checking the system under controlled conditions
Water use may be paused while individual sections are assessed. Depending on the type of installation, the plumber may close valves, isolate appliances or separate circuits so that the behaviour of one part of the system can be compared with another. Pressure readings can show whether a sealed section is losing pressure, while meter observations can indicate continued flow when no outlets should be drawing water.
These checks are interpreted alongside the property’s pipe arrangement. A pressure change does not, by itself, prove the exact position of a leak; it indicates that further localisation is needed. Equally, a stable reading does not necessarily rule out every type of intermittent leak, particularly where water escapes only when a pipe is hot, pressurised or in use.
3. Selecting the least disruptive investigation method
The equipment used depends on the pipe material, its depth, the surrounding construction and the symptoms. Acoustic equipment can help identify the sound produced by escaping pressurised water. Thermal imaging may show temperature differences associated with hot-water or heating leaks, although it is less informative where the escaping water is at a similar temperature to its surroundings.
Other methods may be appropriate in particular circumstances. Tracer gas can assist with some concealed supply leaks, while moisture meters can help assess the extent and direction of dampness in building materials. These tools do not replace professional interpretation: readings can be affected by insulation, floor construction, background noise, ventilation and other sources of moisture.
4. Comparing evidence from more than one point
A reliable inspection does not normally rely on a single instrument reading. The plumber compares indications from several positions and relates them to the pipe route and the system checks. For example, a damp patch may be downstream from the actual fault because water can travel along joists, screed, insulation or the underside of flooring before becoming visible.
The inspection also considers whether the evidence is consistent with a supply pipe, heating pipe, waste connection or fixture. This distinction matters because a waste leak may occur only while a sink, bath or washing machine is discharging, whereas a mains leak may continue while all outlets are closed.
5. Confirming the likely location
Once the evidence has been assessed, the plumber identifies the most probable leak zone rather than treating every damp area as the source. The result may be expressed as a specific fitting, joint or accessible section, or as a limited area where the pipe is concealed. Where conditions prevent absolute confirmation without opening the structure, that limitation should be explained clearly.
Good detection work also considers the possibility of more than one fault. A damaged seal at a fitting and a separate concealed pipe leak can produce similar symptoms, so findings are checked against the full plumbing layout rather than assuming that the first wet area explains everything.
6. Explaining the findings and recording the inspection
At the end of the inspection, the plumber should explain what was tested, which evidence supports the conclusion and whether the suspected location is sufficiently precise for access or repair planning. The discussion may include areas that were not tested, readings that were inconclusive and any further diagnostic work that would be needed.
Where appropriate, the findings can be recorded with measurements, photographs or marked locations. This information helps establish the next practical step, such as exposing a limited section for confirmation, arranging a pipe repair or investigating a different source of moisture. Detection and repair are separate stages: locating the likely fault does not automatically confirm the full condition of the surrounding pipework.
Preparing for the inspection
- Keep the areas around stop taps, boilers, cylinders, appliances and inspection covers accessible.
- Tell the plumber about changes in water pressure, boiler pressure, meter movement or dampness.
- Point out previous repairs, alterations and any areas where flooring, plaster or cupboards have already been affected.
- Avoid covering or drying evidence immediately before the visit if doing so would remove useful clues.
The outcome of a professional inspection should therefore be more than a damp-area guess. It should provide a reasoned assessment of the plumbing system, identify the most likely source and make clear what is known, what remains uncertain and what action is justified next.