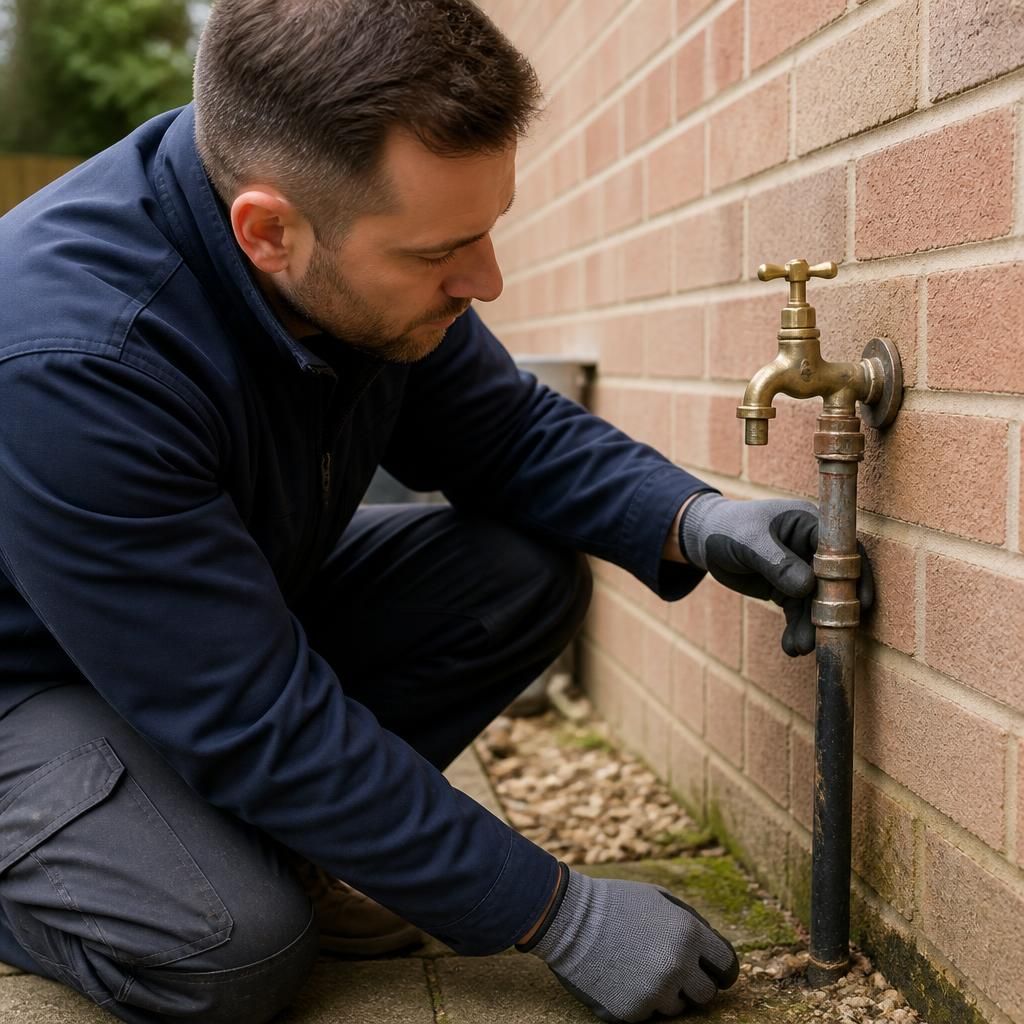
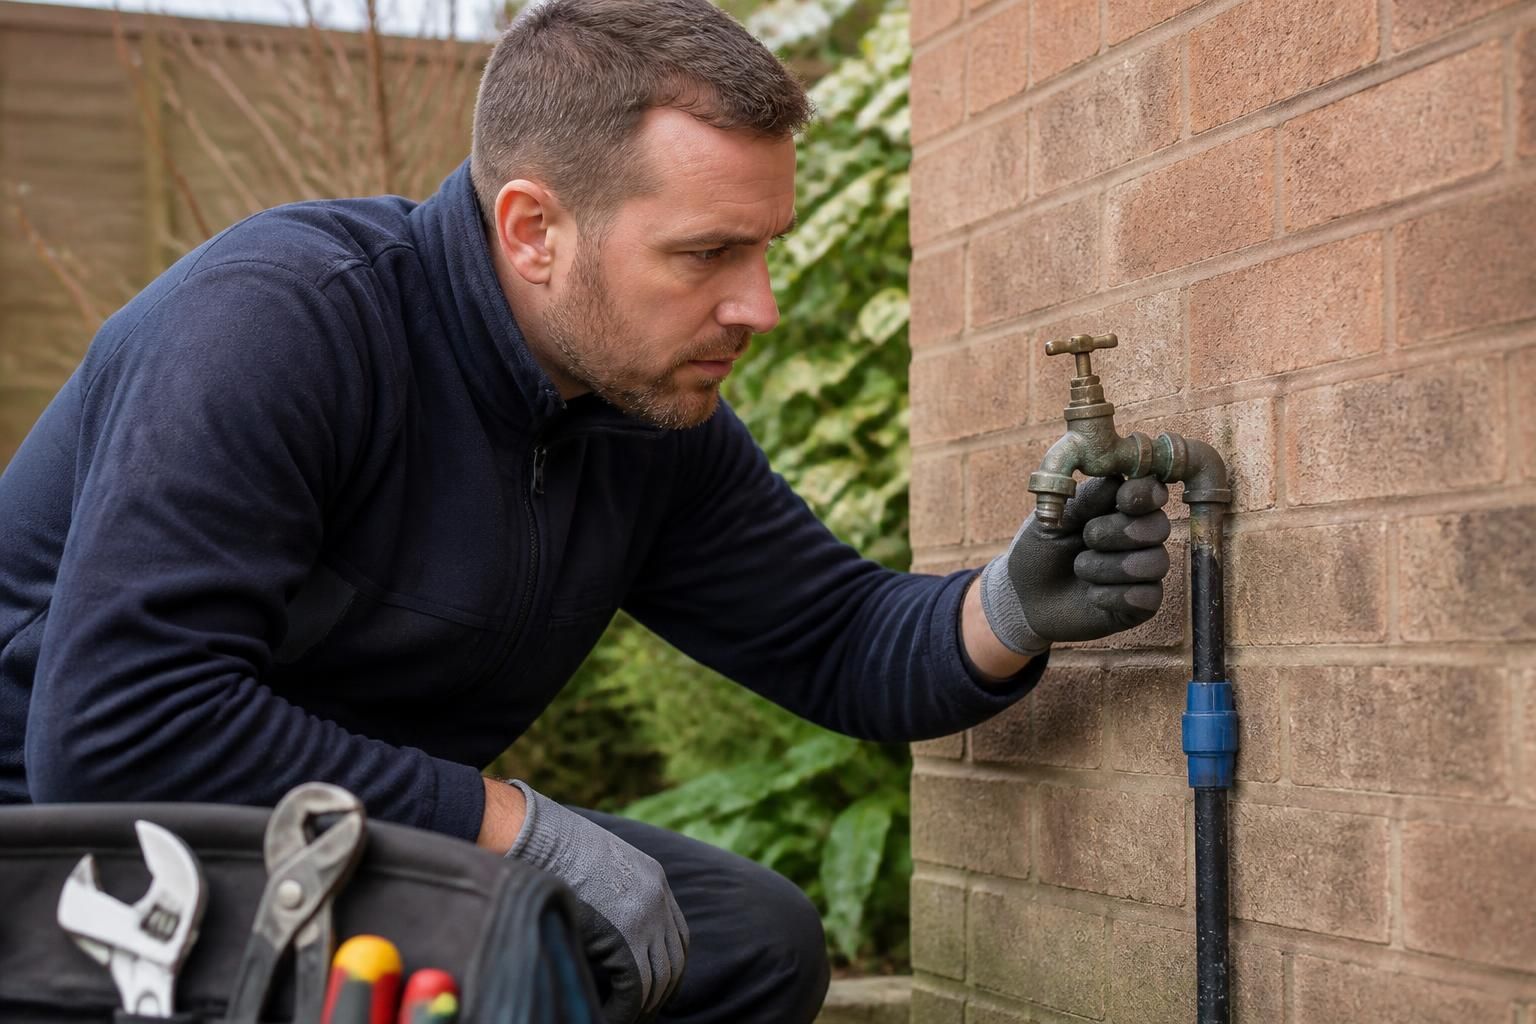
The most useful preparation is to preserve the outdoor tap in its normal condition and gather information that helps the plumber understand the installation. Avoid using the tap unnecessarily before the inspection, and make a note of any recent plumbing work, freezing weather, impact or garden alterations that may have affected the pipework.
Before the inspection:
- Keep the tap undisturbed. Do not apply sealant, tape or temporary repair products, as these can conceal the original fault or affect the inspection.
- Remove detachable accessories. Take off hose connectors, timers, splitters and similar fittings if they can be removed safely by hand. These accessories can leak independently of the tap.
- Gather relevant information. Note the approximate age of the tap, whether it was recently installed or repaired, and whether the leak appears to come from the spout, handle, joints or the pipe entering the wall or ground.
- Check for related symptoms. Consider whether there is reduced pressure, a change in the sound of running water, dampness indoors, unusual growth near the pipe route or water collecting in one particular area. Do not dig to investigate the route yourself.
- Prepare details about the property. Tell the plumber whether you are the homeowner, tenant or landlord, and mention any shared garden supply, recent building work or restrictions affecting the pipework. This can help establish who may need to approve further repairs.
- Make the area safe. Keep children and pets away from wet or slippery surfaces. Do not approach damaged electrical equipment, unstable paving or a flooded area; explain the risk to the plumber instead.
An outdoor tap inspection will usually begin with a visual assessment of the fitting and its connections. The plumber may then check the water pressure, examine accessible pipework and test whether the loss is coming from the tap itself or from a concealed section of the supply. Where appropriate, specialist leak detection methods can help distinguish a plumbing leak from surface water, irrigation discharge or normal drainage.
It is useful to ask what the inspection has established before agreeing to repair work. In particular, ask whether the fault is limited to a washer, cartridge or connection, whether the supply pipe may be leaking below ground, and whether any paving, brickwork or internal finishes might need to be disturbed. A clear explanation should separate the inspection findings from any assumptions about the cause.
If the outdoor tap is at a rented property, notify the landlord or managing agent and obtain any required permission before repair work begins. For homeowners, retaining details of previous repairs and any photographs taken during earlier maintenance can help provide a useful record without interfering with the current inspection.
Ideal Plumbing Services provides outdoor tap leak detection and plumbing repairs for residential customers in Birmingham and across the wider West Midlands. The inspection can identify the likely source and help determine the most suitable next step, whether that is a straightforward tap repair or further investigation of concealed pipework.