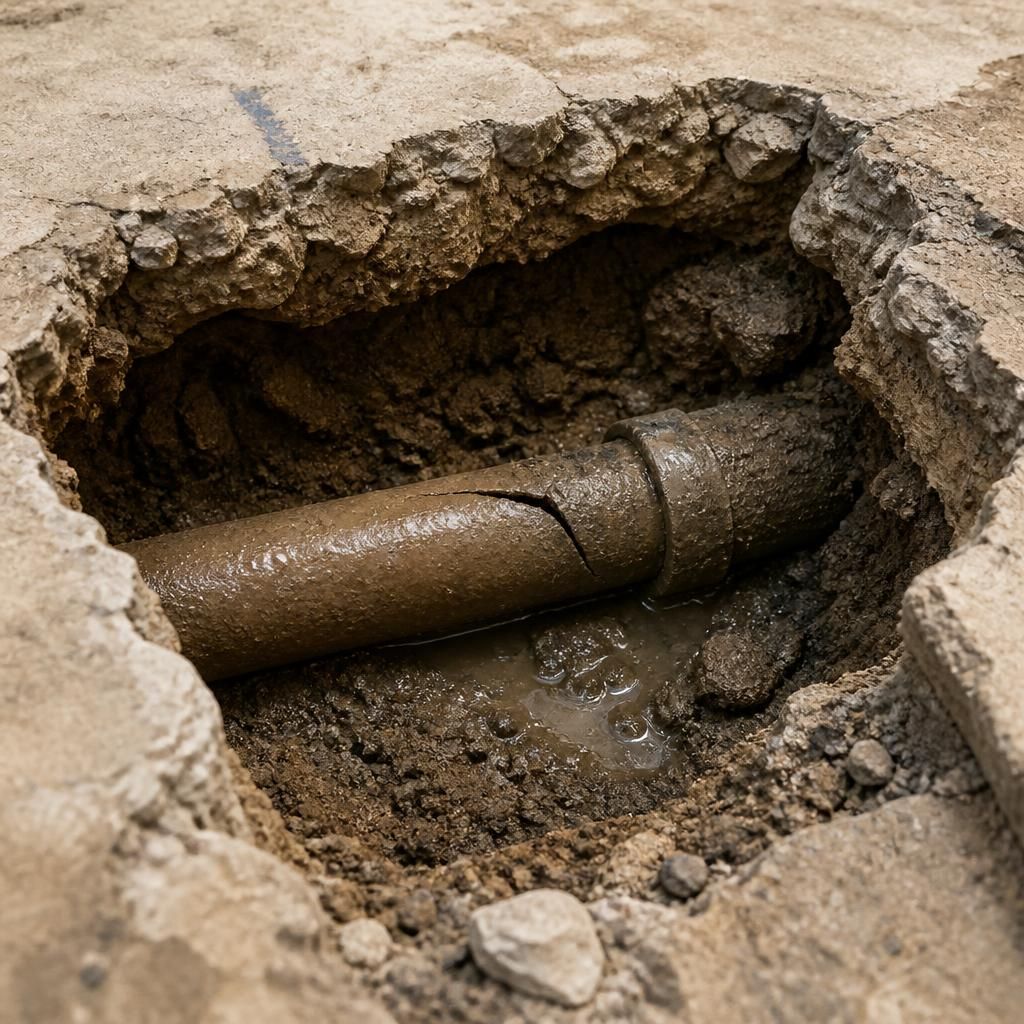
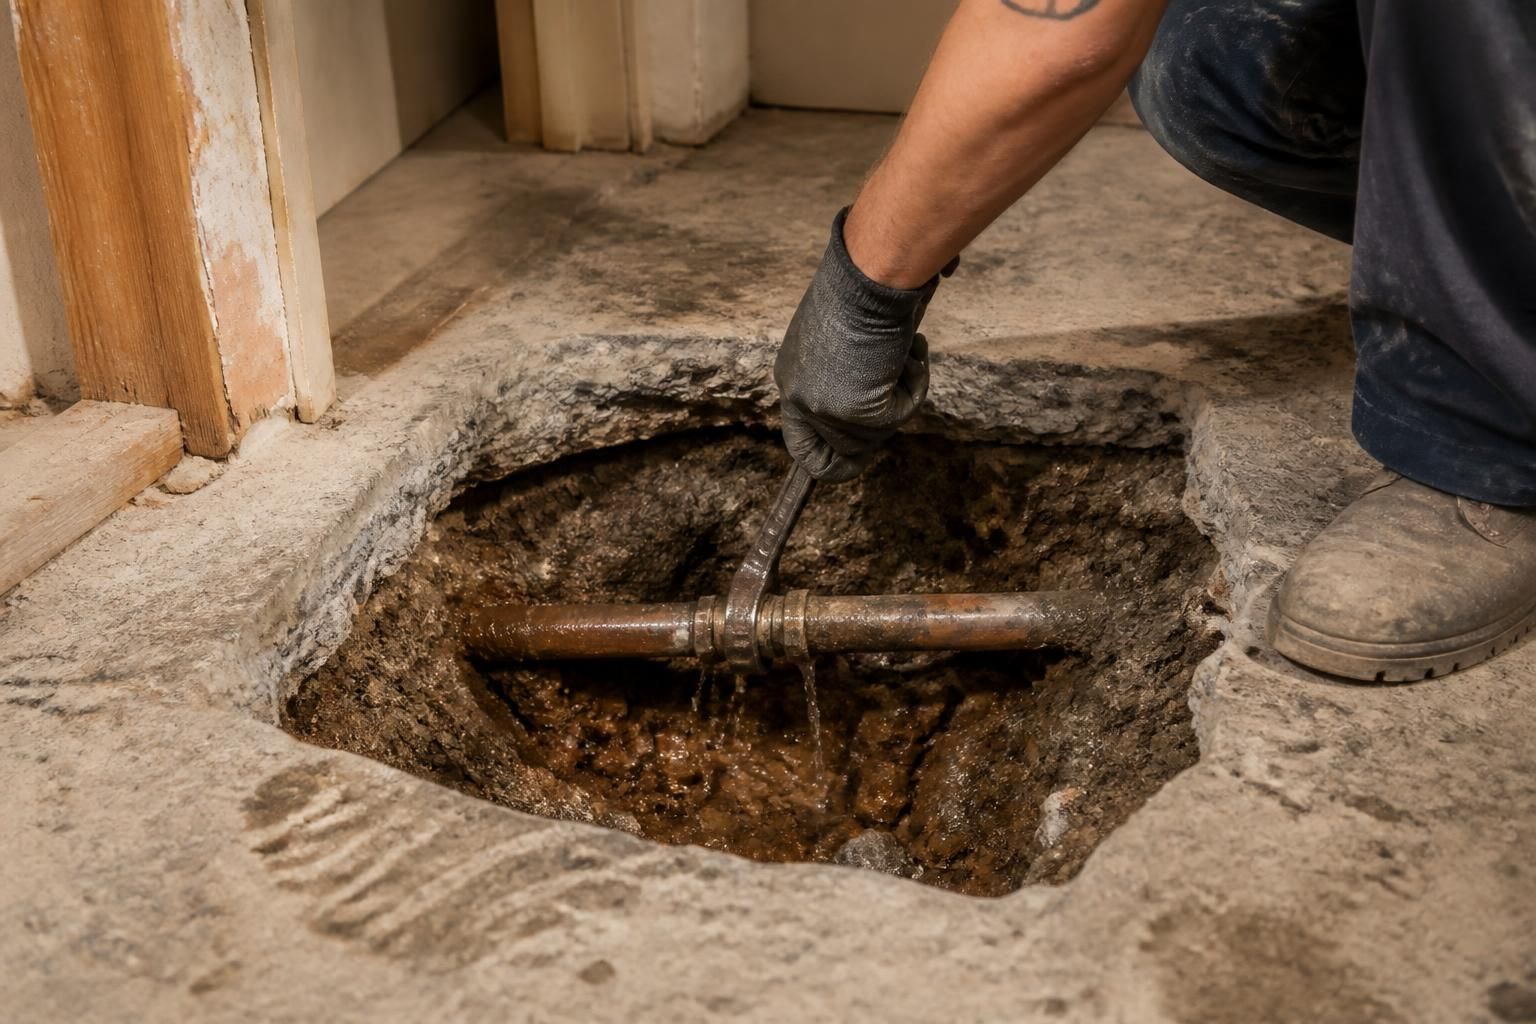
An underground water leak beneath a concrete floor is normally dealt with through a controlled, localised repair rather than removing the entire slab. The work involves confirming the pipe route and leak position, creating a carefully sized access point, repairing or replacing the failed section, testing the system, and restoring the floor once the area is sound.
1. Confirming the pipe and the leak
Before any concrete is disturbed, the plumber establishes which pipe is affected and where it runs beneath the floor. This may involve reviewing the property’s plumbing layout, checking isolation valves and carrying out acoustic testing, pressure checks or other non-invasive investigations. The aim is to distinguish a leaking supply pipe from water entering through a joint, appliance connection, drain or external source.
A precise location is important because concrete can conceal the sound of escaping water and allow moisture to travel away from the actual fault. Damp staining, a warm or cold patch, a drop in pressure or unexplained meter movement may indicate the general area, but these signs do not always identify the damaged point accurately enough for excavation.
2. Planning safe access
Once the likely repair point has been identified, the work area is prepared. The water supply is isolated where possible, nearby furniture and fittings are protected, and the floor is marked out to limit the amount of concrete removed. The size and position of the opening depend on the pipe depth, its direction, the type of fault and the room’s construction.
Care is needed around electrical cables, underfloor heating, gas services and other concealed installations. If the pipe cannot be reached safely from above, an alternative route may be considered instead of opening a large section of flooring. In some properties, rerouting a pipe through an accessible wall, ceiling void or service area is more practical than repairing a deeply buried section.
3. Exposing the damaged pipe
The concrete is cut and removed using suitable tools, with dust and debris controlled as far as practical. The excavation is extended only as far as necessary to expose enough sound pipe on either side of the fault. The surrounding material is then cleared carefully so the pipe can be inspected without causing further damage.
The exposed section may show a split, pinhole corrosion, failed joint, displaced fitting or damage caused by movement. The pipe material, diameter, condition and available working space determine the appropriate repair method. A pipe that has deteriorated over a wider area may require a longer replacement section or a redesigned route rather than a single joint.
4. Repairing or replacing the pipe
A localised fault can often be repaired by removing the damaged portion and fitting a compatible replacement section with suitable connectors. Where the pipe or its joints are extensively worn, replacing more of the affected run can reduce the risk of another failure nearby. The connection must be suitable for the pipe material and positioned so it remains secure when the system is repressurised.
The repair should not simply cover the visible leak. Any sharp edges, unsupported pipework or contact with abrasive material should be addressed before the opening is closed. Pipework may need support and protection to reduce movement, impact and stress on the new connections.
5. Testing before the floor is closed
After the repair, the water supply is restored gradually and the pipework is checked under pressure. The plumber inspects the new connections and monitors the system for further pressure loss or visible moisture. If the test identifies a problem, it can be corrected while the pipe remains accessible.
Testing at this stage is essential because covering the repair too soon can conceal a poorly seated connection and make any subsequent investigation more disruptive. The surrounding area should also be checked for standing water, saturated bedding or continuing moisture migration from the original leak.
6. Reinstating the concrete floor
Once the plumbing repair has passed its checks, the excavation is prepared for filling. Any unsuitable or waterlogged material may need to be removed, and the void is filled with appropriate material in a stable manner. The concrete surface is then reinstated to match the existing floor as closely as the construction and finish allow.
Reinstatement may not immediately remove all evidence of the original leak. Screed, insulation and surrounding masonry can retain moisture, so drying may take time. Flooring such as tiles, laminate or vinyl may need separate replacement if it was lifted or damaged during access. Where the floor has a decorative, structural or heated finish, this should be considered when planning the repair.
When a different approach may be preferable
- The leak is close to an accessible edge, wall or service void, allowing the pipe to be reached without cutting through the main floor area.
- The pipe has repeated faults or widespread corrosion, making partial replacement less suitable.
- The concrete is structurally significant or contains underfloor heating and requires specialist planning before cutting.
- The suspected leak is actually associated with a drain, waste pipe or external supply, which requires a different investigation and repair method.
Accurate detection is therefore as important as the physical repair. A properly planned access point reduces unnecessary disruption, while pressure testing and careful reinstatement help confirm that the concealed plumbing problem has been resolved rather than merely covered.