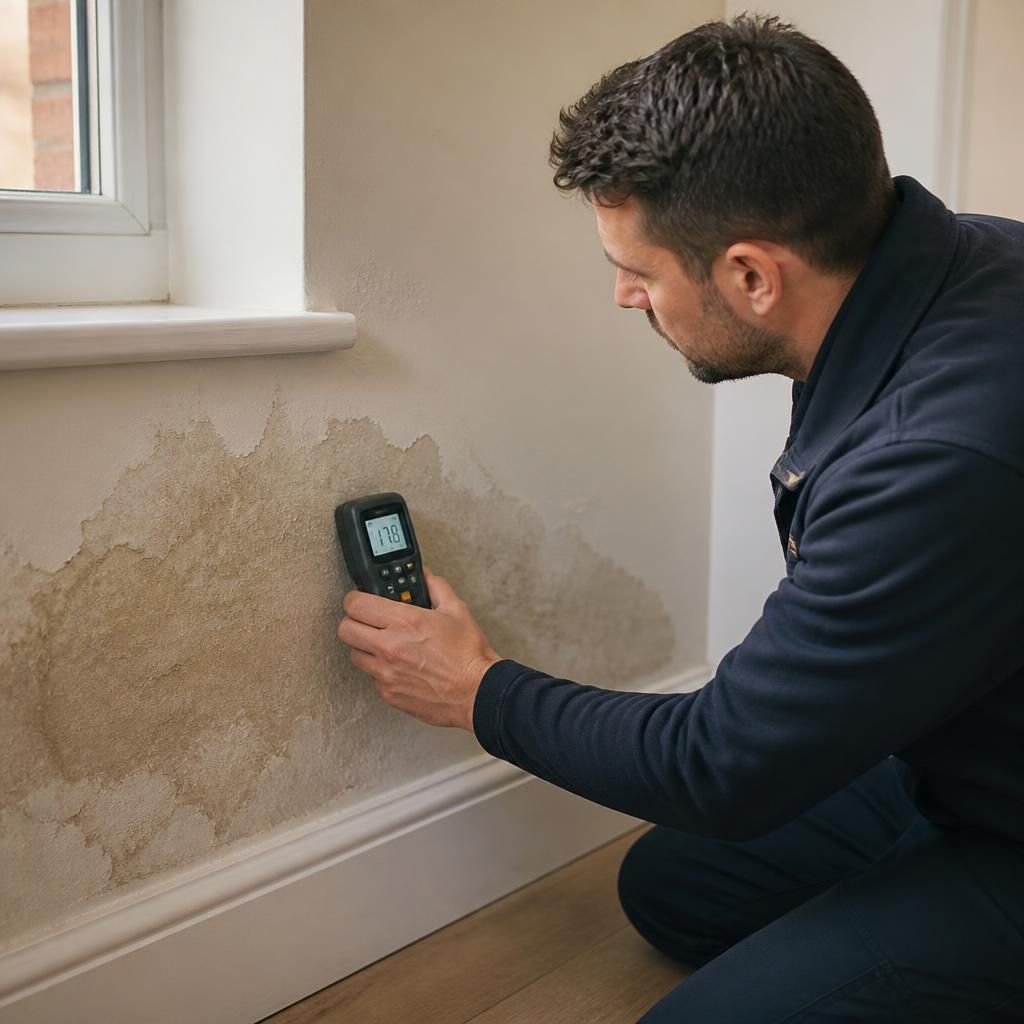
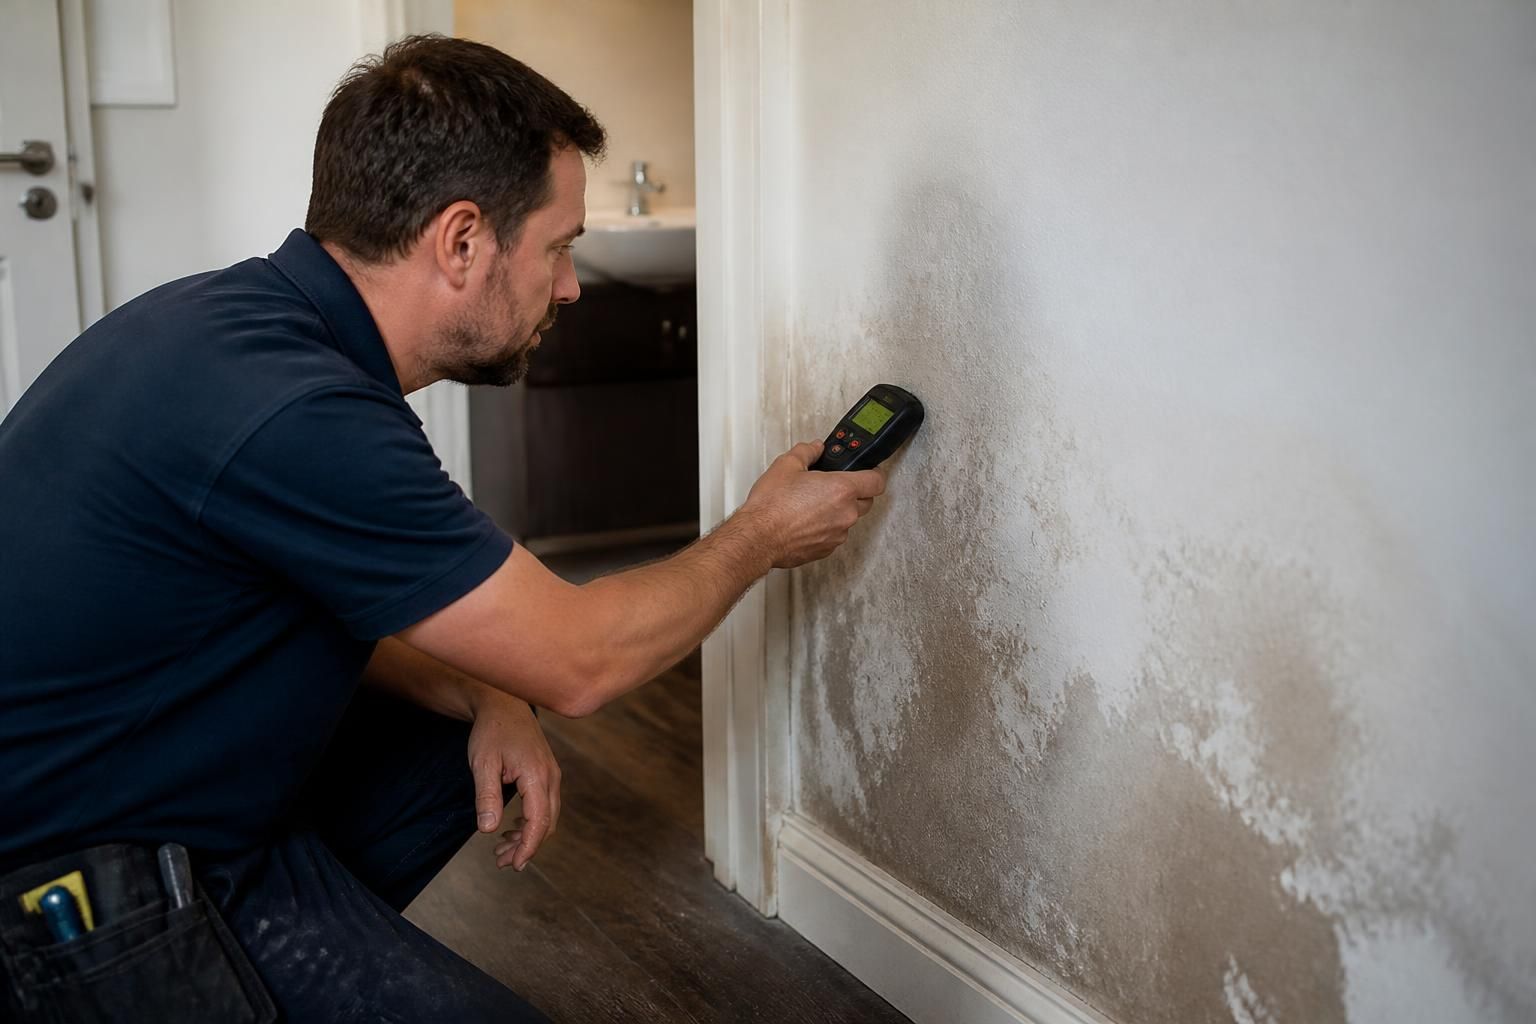
A water leak detection inspection is a structured diagnostic process used to determine whether water is escaping, identify the affected supply or drainage system, and pinpoint the most likely source. The inspection normally progresses from simple checks to more targeted testing, limiting unnecessary disruption while building a reliable picture of the fault.
1. Establishing the symptoms and site conditions
The inspection begins by recording what has been noticed and where it occurs. Relevant details can include damp patches, staining, mould, unusual sounds, reduced water pressure, unexplained changes in meter readings, or water appearing when a particular appliance or fitting is used. The plumber also considers the layout of the property, the age and type of pipework, recent alterations, and whether the affected area is close to a bathroom, kitchen, heating system or external service.
This information helps separate a pressurised water-supply leak from condensation, rainwater penetration, a heating-system fault or a drainage problem. These issues can produce similar visible symptoms but require different tests and repairs.
2. Checking the plumbing systems
The relevant water systems are then considered individually. Where appropriate, the plumber may check the internal stop tap, water meter, boiler and heating circuit, storage tanks, visible valves, toilets, taps, washing machines, dishwashers and other connected appliances. Fixtures may be isolated one at a time to establish whether the symptom changes when a particular branch of pipework is taken out of use.
Water pressure and system behaviour can provide useful clues. A pressure reading that falls when the system should be static may suggest water is escaping from a supply pipe or fitting. On a heating circuit, repeated pressure loss may indicate a leak within the circuit or a related component. These observations are interpreted alongside the construction of the property rather than treated as proof of a particular fault on their own.
3. Confirming whether the leak is active
Moisture readings may be taken from suitable surfaces to compare affected and unaffected areas. The results help show how far water has travelled through plaster, flooring or other materials, but a damp reading does not automatically identify the original source. Water can move away from a pipe before appearing at the surface, and old staining can remain after a leak has stopped.
For that reason, the plumber may monitor readings while individual fittings or systems are operated. A water meter or pressure gauge can also be observed during a period when no water should be in use. If the readings remain stable, the visible damage may be historic, intermittent or related to another source. If they change, further testing can be directed towards the active section of the system.
4. Narrowing down a concealed leak
Once the affected system has been identified, targeted methods can be used to narrow down the location. Depending on the circumstances, these may include:
- Acoustic testing to detect the sound or vibration created by water escaping from a pressurised pipe.
- Thermal imaging to identify temperature differences associated with hot-water or heating pipework, provided the conditions are suitable.
- Tracer-gas testing, in which a safe test gas is introduced into a suitable system and detected as it reaches the surface.
- Drain inspection equipment where the evidence points to a waste pipe, underground drain or connected drainage run.
- Further pressure testing to compare separate pipe sections and identify which part is losing pressure.
No single method is suitable for every property. Pipe material, access, insulation, floor construction, background noise, temperature and the presence of several overlapping systems can all affect the results. A competent inspection therefore compares information from more than one source where necessary.
5. Confirming the likely source
The findings are assessed against the pipe layout and the position of the visible damage. The objective is to identify the most likely leak point, not simply the place where water has appeared. For example, a ceiling mark may be below a pipe joint but not directly beneath it, while moisture beside a wall may have travelled horizontally from a concealed pipe.
In some cases, the inspection can locate the affected area precisely enough for a focused repair. In others, access may be restricted by flooring, cabinets, plaster or structural materials. If opening up is considered necessary, this should be discussed before work proceeds. Detection equipment can reduce exploratory damage, but it cannot guarantee that every concealed pipe or leak can be reached without some form of access.
6. Recording the result
A professional inspection should conclude with a clear explanation of what was tested, what the results indicate and what remains uncertain. The findings may include the suspected source, the affected system, any immediate isolation advice, and recommendations for repair or further investigation. Photographs, moisture readings or test results can also help distinguish the leak itself from secondary damage to floors, walls or ceilings.
Water leak detection identifies and traces the fault; it does not always include the remedial work. Once the source has been established, the appropriate repair can be considered separately, taking account of the pipe material, access requirements and the condition of the surrounding installation. If the inspection does not confirm an active plumbing leak, other possible causes of dampness should be investigated rather than replacing pipework without evidence.